Our mom used to be the quasi- health food junkie type (tuna melts with yogurt instead of mayonnaise, chocolate chip cookies with ground walnuts in them, whole wheat biscuits, etc.). She did- and still sometimes does, when we aren’t overtaking the kitchen- make really yummy homemade cakes, waffles, and muffins, and great soups and lasagna. She’s become less strict about avoiding every type of junk food over the years as our family has gotten busier since she has less time to think about it. One thing is for sure though, white bread never entered our house back then and it rarely does now. She does completely approve of homemade things, so we set out to make really good white bread!

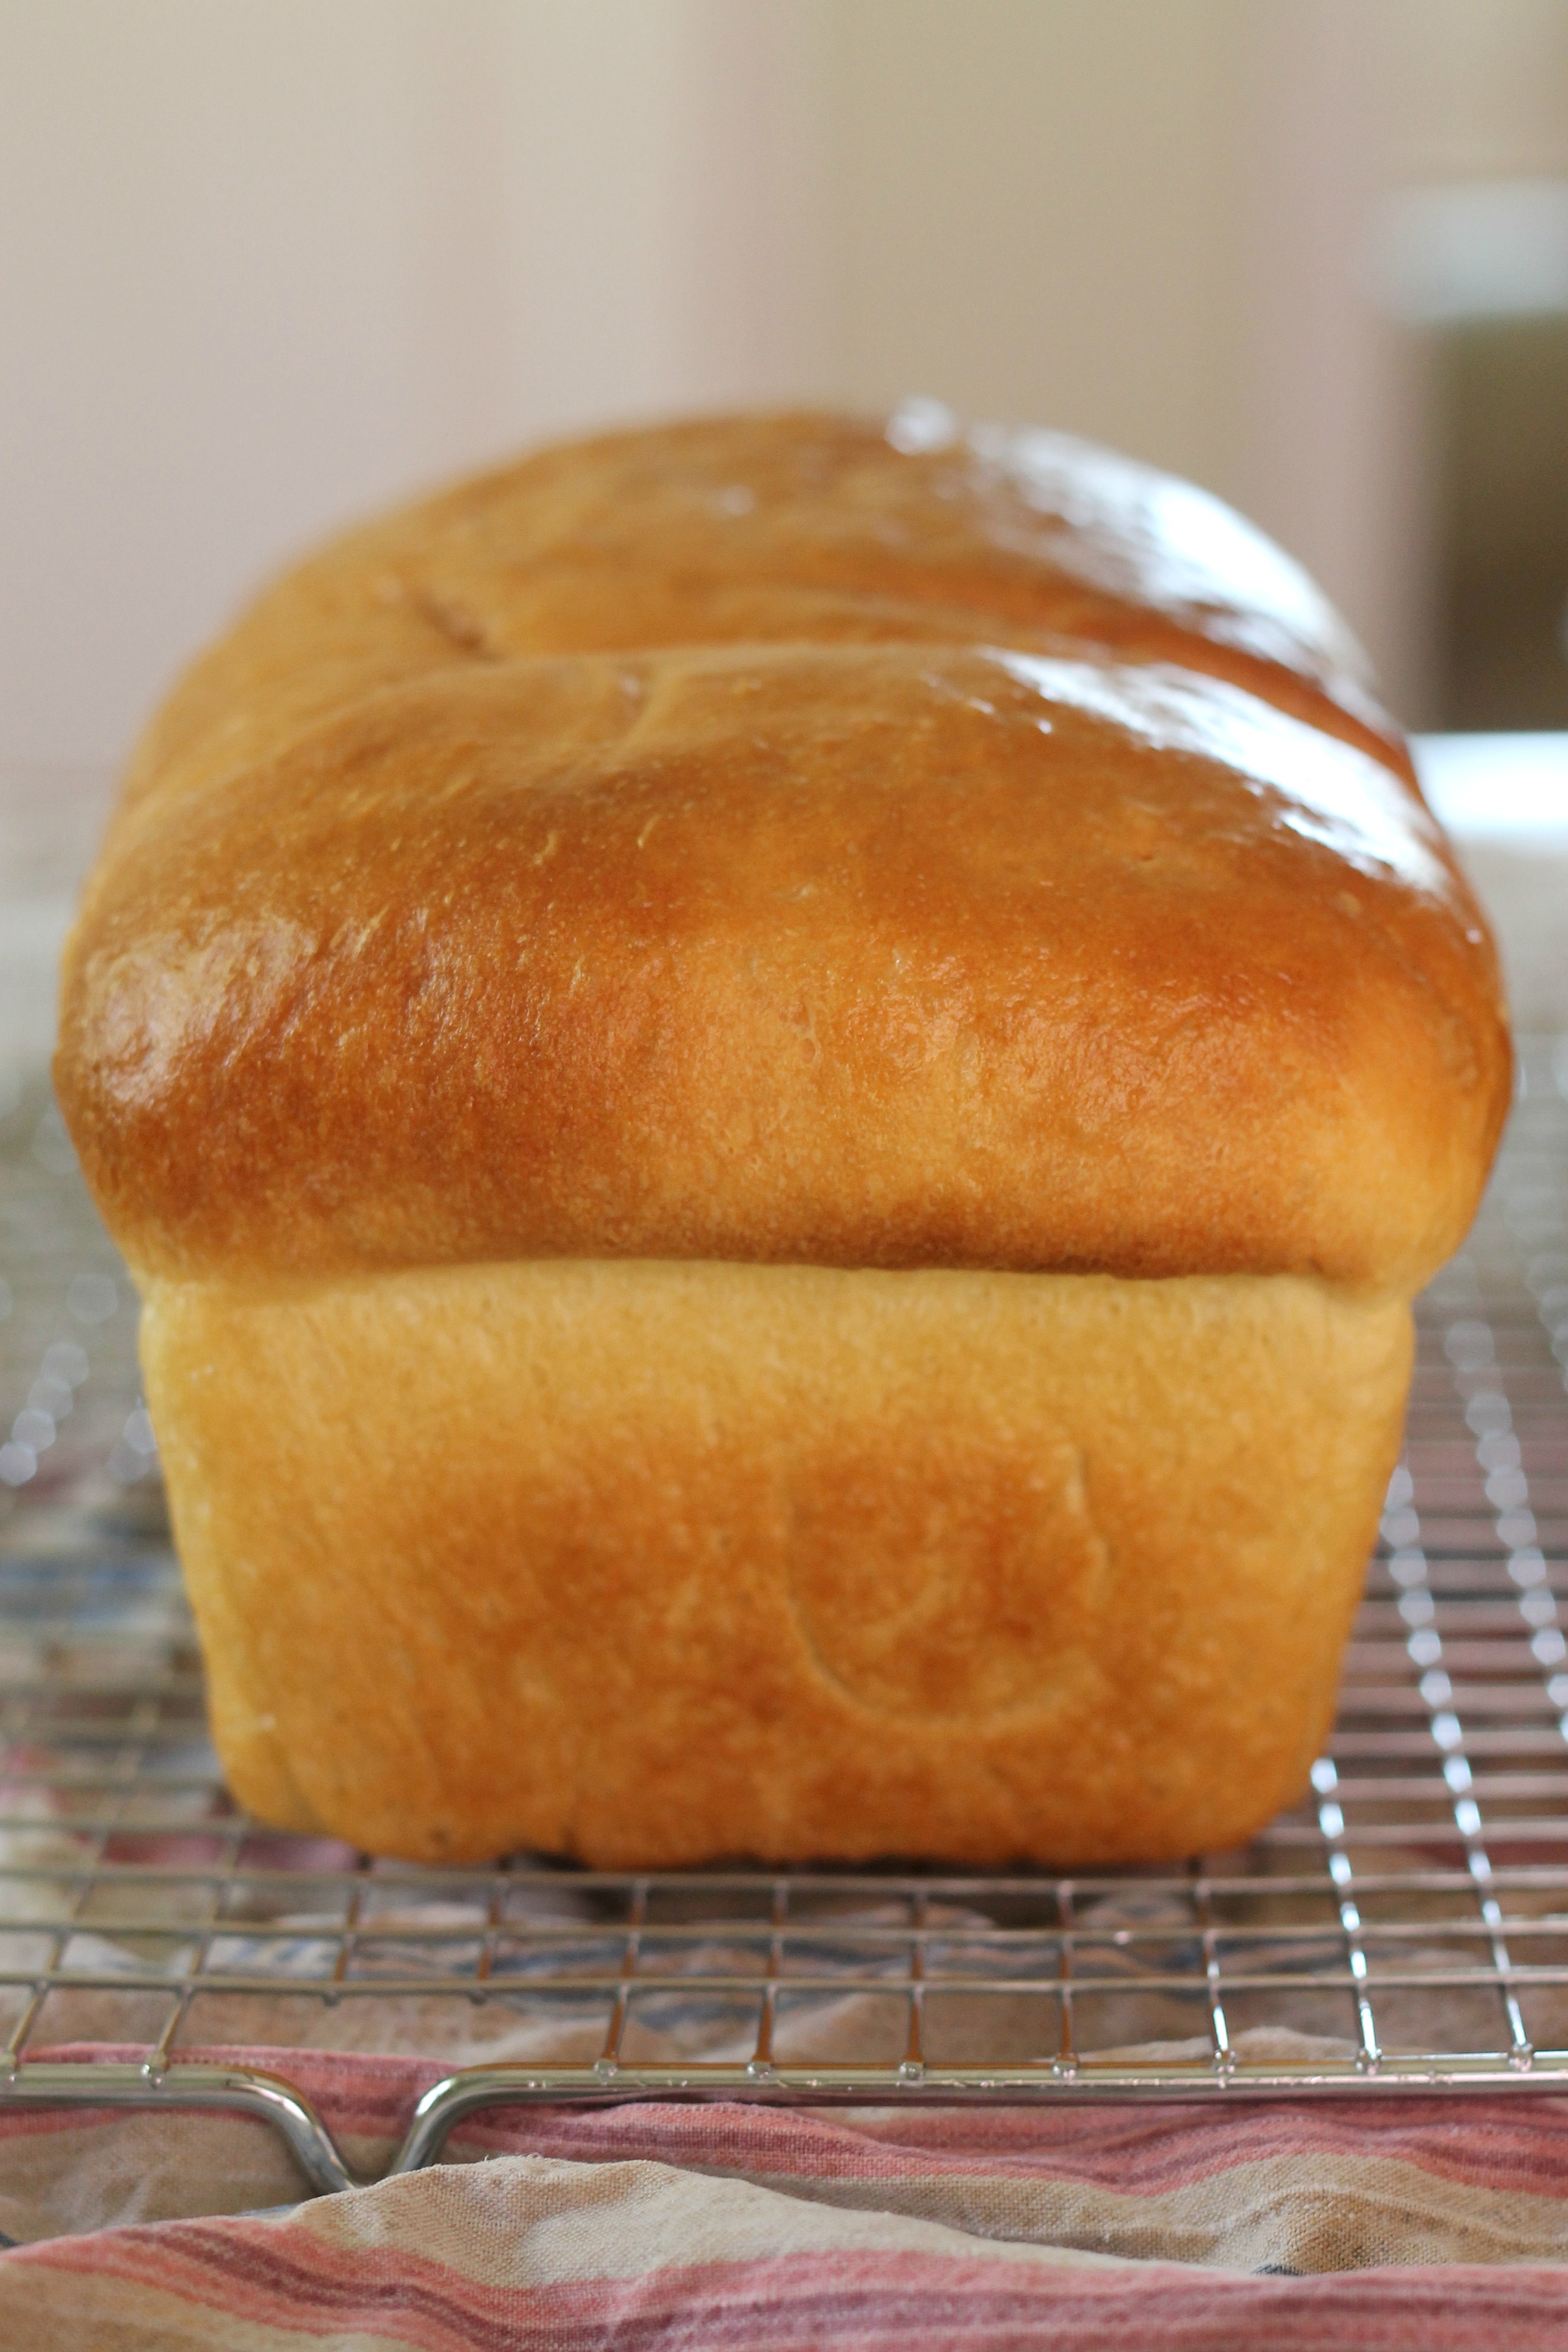
We have tried many different recipes for homemade white bread over the past few years (it is one of the first things we tried to make in the kitchen!) and while most were good, and even delicious, none had that pillowy softness and height that we wanted. Most were on the flat side and lacked flavor. There were a couple of unfortunate loaves where we forgot yeast or salt…those were bad! Thankfully, we found this recipe, and it is the ultimate! It is amazing how tall the loaves are straight out of the oven. It is the right texture for really any sort of sandwich (soft but not smooshy, and substantial but not heavy), and toasts nicely. Plus, it is easy! Within a few hours, you can have two perfect loaves of bread that are exponentially better than any supermarket variety.
Soft White Bread
Recipe via Annie’s Eats, originally from The Curvy Carrot
Makes 2 large loaves, about 12 slices per loaf
Ingredients
4½ tsp. instant yeast
¾ cup plus 2 2/3 cup warm water, divided (105-115˚ F)
¼ cup granulated sugar
1 tablespoon salt
3 tablespoons unsalted butter, softened to room temperature
9-10 cups all-purpose flour
3-4 tbsp. unsalted butter, melted for brushing
Directions
To make the dough, dissolve the yeast in ¾ cup of warm water in a large mixing bowl (use your mixer bowl if kneading with a stand mixer and use the dough hook). Stir in the sugar, salt, remaining 2 2/3 cups water, butter, and 5 cups of the flour. Mix (on low speed) until a dough begins to come together. Gradually add in the remaining 4-5 cups of flour about ½-1 cup at a time at first, more gradually with the last cup, until the dough is smooth and slightly tacky but not sticky. Continue to knead about 6-8 minutes, until a smooth ball of dough has formed. Just a note, we have a standard Kitchen Aid stand mixer, and found that this was too much dough for it to handle. We kneaded it by hand instead. If you have a higher capacity stand mixer, then feel free to use it, but be on the safe side and don’t break your mixer making this bread!
Transfer the dough to a lightly greased large bowl, turn once to coat, and cover with plastic wrap or a clean kitchen towel. Let rise in a warm place until the dough has nearly doubled in bulk, about 60-90 minutes.
Turn the dough out onto a lightly floured work surface and gently punch down to deflate the dough. That is a really fun part! Divide into two equal portions. Press one portion of dough into a rectangle, about 9 x 15 inches. Starting on a short end, roll the dough up tightly into a log and pinch the seam shut. Roll the ends under the loaf. Transfer to a greased 9 x 5-inch loaf pan and press down gently to reach the sides of the pan. Repeat with the second portion of dough. Cover the pans loosely with a clean kitchen towel and let rise once more until nearly doubled, about 30-45 minutes.
Place an oven rack in the lowest position and preheat the oven to 400˚ F. Just before baking, lightly brush the tops of the loaves with some of the melted butter. Bake for 15 minutes. Rotate the pans 180˚ and continue baking until an instant read thermometer reads 190˚ F in the center of the loaf, about 15-18 minutes more. If the tops of the loaves reach your desired golden brown before the baking time is complete, cover the tops loosely with foil. Transfer the pans to wire racks to cool. Let cool briefly, then turn the loaves out onto the racks. If desired, brush lightly with additional melted butter. Let cool completely (unless you want a warm slice with butter!), and then cut into slices. Enjoy!
