I’m not sure if I mentioned this before, but I (Leah) really enjoyed chemistry at school, so much that I took AP Chem. Well, Celine also took the class, but I quote directly from her, “after the happy honeymoon period of the first couple classes ended, I was done for the whole year.” Well, she didn’t do too badly, but she didn’t enjoy it either. While the AP class wasn’t quite as “fun” as the standard chemistry class we took sophomore year, it was an interesting course. The first few sentences probably just disgusted all of the chemistry-haters out there- I know lots of them! Anyway, my favorite part was labs. Titration creates such a nice shade of pink; the goal is to make the basic solution only the faintest pink color, but hot pink is a much more fun result! Also, turning flames various colors with chemicals is always cool. Our lab table always had a good time, and we would compete to see who could do the day’s experiment better. Shannon and Lisa, if you are reading this, you know who the real winners are!
I think part of the reason that I enjoyed chemistry was that it helped me appreciate baking even more. The science behind baking has always interested me, which is part of the reason I love recipes from America’s Test Kitchen– they explain them (including this recipe). I just think it’s so cool that you can mix flour, water, yeast, and salt together and create something that is not only edible, but that tastes fantastic!
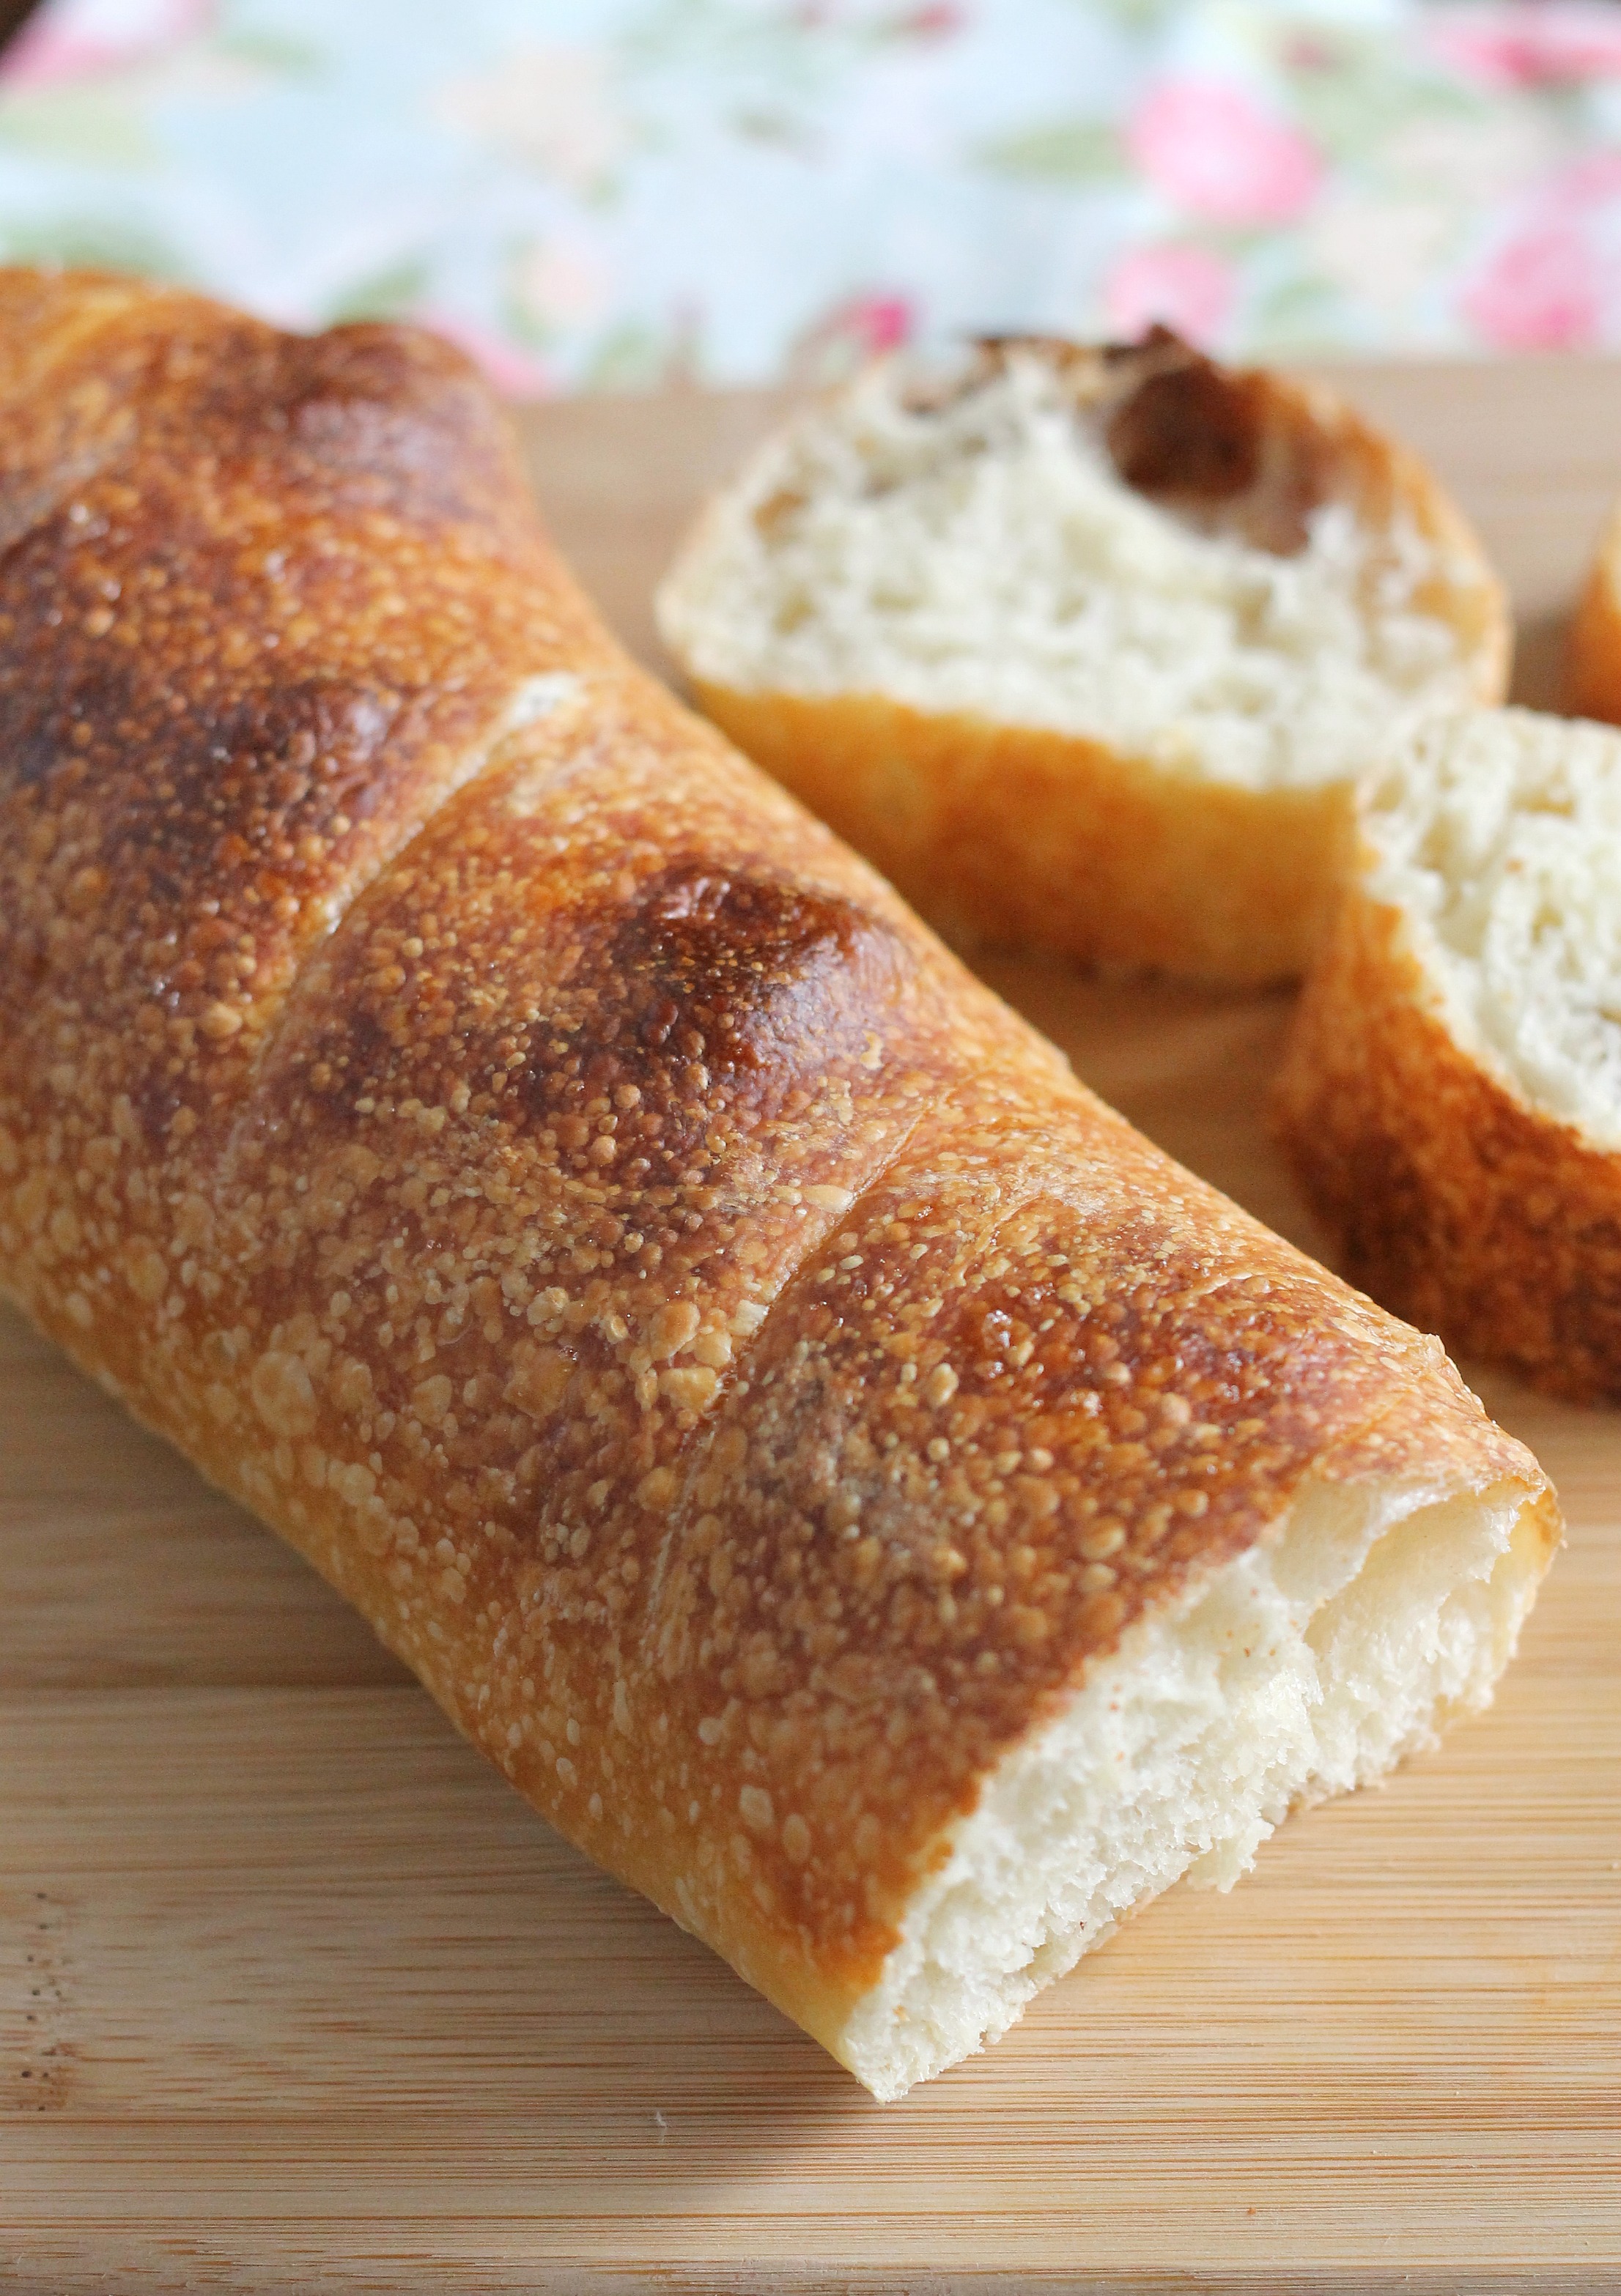
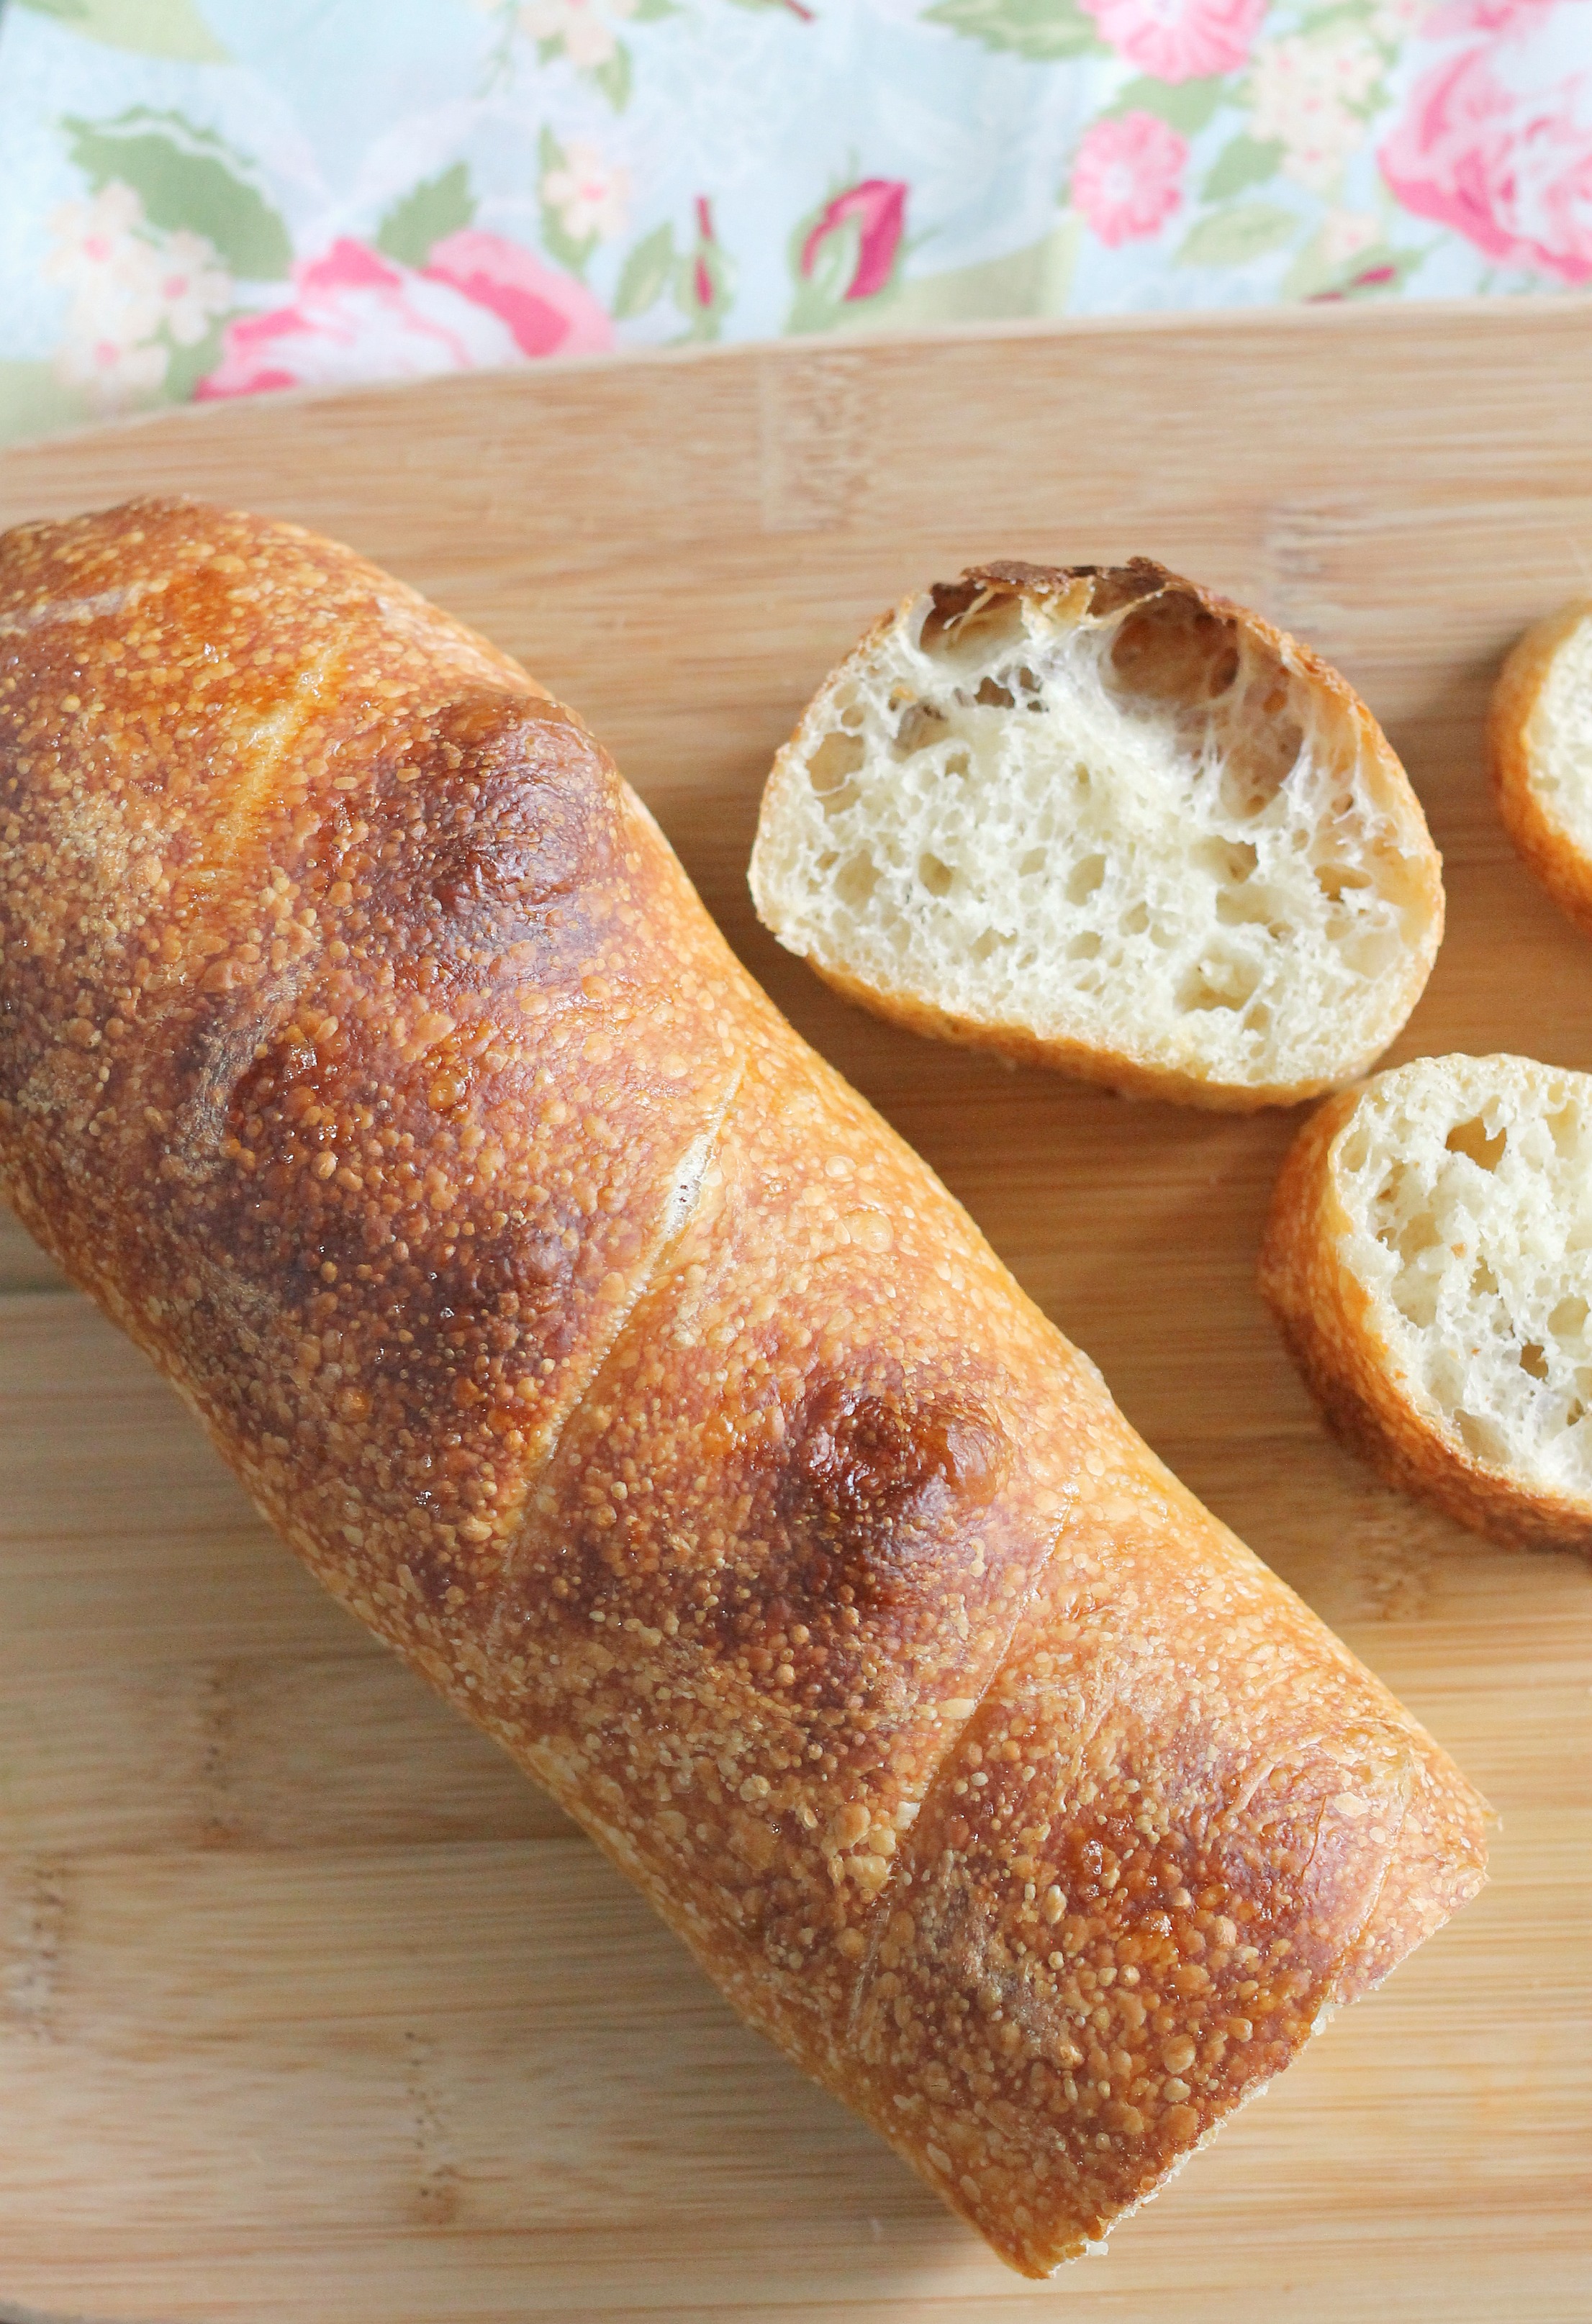
Honestly, this is probably the best bread that we have ever made. The baguette has a crackly crust, chewy but not too hard, and a soft and airy interior. If you have some basic pantry staples, you can make this bread, and we highly recommend that you do! Our favorite way to eat it is cutting it into slices while still hot and serving with butter.
Have you ever had the rolls with olive oil at the East-coast pizza restaurant Bertucci’s? They are, in my opinion, the best part of the meal. This baguette reminded me of those rolls but a million times better. Please, please make it, even if you only want to do it to have bragging rights that you have made homemade baguette!
While this baguette is not challenging in any way, it does take 24 hours from starter to warm loaf. There is a lot of time involved, but it is worth it! If you don’t have a stand mixer, you are in luck because this bread is made completely by hand. It’s a really nice dough to work with, and although we need to work on our shaping and get a better knife to slash the dough, we were really pleased with how beautiful these loaves were. By the way, Annie of Annie’s Eats recommends starting your dough between 8 am and 12 pm. While this bread is delicious, who wants to get up in the middle of the night to work on it? We started ours at around 10:30 and the timing was perfect.
French Baguettes
Makes two medium baguettes
Recipe from Annie’s Eats, originally from Baking Illustrated
Ingredients:
For the sponge:
1/8 tsp. instant/rapid-rise yeast
¾ cup warm water (105-110˚ F)
6 oz. (1 cup plus 3 tbsp.) lower protein all-purpose flour, such as Gold Medal or Pillsbury (Two things: 1. our kitchen scale broke, so we measured by volume, and 2. we didn’t use the lower protein flour. Guess what? The bread was amazing anyway. That said, if you have a scale and lower protein flour, use them!)
For the dough:
½ tsp. instant yeast
½ cup water (75˚ F), divided, plus 2 tsp. additional water if needed
10 oz. (2 cups) lower protein all-purpose flour, such as Gold Medal or Pillsbury
1 tsp. salt
For the glaze:
1 egg white
1 tbsp. water
Directions:
For the sponge:
In a medium bowl, stir together the yeast, warm water, and flour in a medium bowl until a smooth, thick mixture forms. Scrape down the side of the bowl with a spatula and cover with plastic wrap. Using a paring knife, cut a couple of small holes in the top of the plastic wrap. Let the mixture stand at room temperature. After 4-5 hours, check on the sponge- it should be almost doubled in size and be covered with tiny bubbles. Continue to let it sit at room temperature until the surface shows a slight collapse in the center, another 2-3 hours. This only happened slightly for us, but our bread was great anyway.
For the dough:
Add the yeast and 6 tablespoons of the water to the sponge. Stir it vigorously until the water and yeast are mixed in. Add the flour and continue to stir until a loose, shaggy ball of dough forms. Turn the dough out onto a very lightly floured work surface and knead, adding a few drops of water as needed, until the dry bits are absorbed into the dough and it is homogenous, about 2 minutes. Pull the dough into an 8 x 6-inch rectangle on the surface. Using your fingers, make indentations into the dough. Drizzle the dough with 1 tablespoon of the water. Fold the edges of the dough toward the center and pinch it to seal in the water. Knead briefly, about 30 seconds- the dough will still feel wet and slippery. Firmly throw the dough against the work surface several times, which will help the dough absorb the water. Continue to knead and crash the dough alternately until it is soft and tender; the surface should be almost powdery smooth. This will take about 7 minutes.
Repeat this process: stretch the dough again into an 8 x 6-inch rectangle and indent it with your fingers. Sprinkle with the remaining 1 tablespoon of water and the salt. Fold and seal the edges, and knead and crash alternately, about 7 minutes, until the dough feels smooth and powdery. If the dough still feels a bit tough, knead in the additional 2 teaspoons of water.
Now, perform the windowpane test by stretching a small piece of dough out thin. The dough should not tear and you should be able to see light through it. If it does tear, knead it for another minute or two and test again. Form the dough into a ball and transfer it to a large bowl that has been lightly greased. Cover with plastic wrap. Let the dough sit for 30 minutes. Remove the dough and knead gently to deflate it for about 10 seconds. Place the dough back in the bowl, cover again with plastic wrap, and let the dough rise until doubled, about 90 minutes.
Gently punch down the dough, and place onto a very lightly floured work surface. Divide the dough into two pieces, about 12 ounces each. Keep one piece covered and drag the other piece of the dough to the edge of the work surface, forming the dough into a rough cylinder shape, about 6½ inches long. Repeat with the other piece of dough. Drape the dough pieces with plastic wrap or a kitchen towel and let rest 20 minutes.
Meanwhile, cover a large inverted baking sheet with parchment paper. Now it’s time to shape the dough. Work with one piece of dough at a time and cover the other. Using your hand, make a trench-like indentation along the length of the dough. Press the thumb of one hand along the indentation while pulling the upper edge of the dough down over the hand to enclose the thumb. Repeat this process along the length of the dough and pinch the seam to seal closed. Roll and stretch the cylinder of dough until it measures about 15 inches long by 2½ inches wide. Place the shaped loaf seam-side down on the prepared baking sheet. Repeat with the other piece of dough and place about 6 inches from the other on the baking sheet. Don’t put them too close to each other or they will hit each other once they rise and bake. Cover with a clean, dry kitchen towel and then cover the whole sheet loosely with plastic wrap Refrigerate until the dough has risen a bit, about 12-16 hours (don’t let it rise longer).
To bake:
Place one oven rack in the middle of the oven and put a baking stone on the rack. We haven’t tried this, but if you don’t have a baking stone, preheat another large baking sheet. Place another oven rack in the lower middle of your oven and place a small empty metal baking pan on it. Preheat the oven to 500˚ F. Remove the baking sheet with the baguettes on it from the fridge and let it stand covered at room temperature for 45 minutes. Remove the plastic wrap and towel and let sit for another 15 minutes. Meanwhile, bring 1 cup of water to simmer in a small saucepan. For the glaze, beat the egg white and water (not the simmering water!) together.
With a single-edge razor blade or very sharp knife, make five ¼-inch deep diagonal slashes on each baguette. Brush with the glaze and then mist with water in a spray bottle. Open the oven and line up the edge of the baking sheet with the baking stone. Quickly slide the parchment paper with the baguettes onto the hot baking stone. Pour the simmering water into the metal baking pan (hot steam will come out, so be careful). Bake, rotating the baking stone after 10 minutes if they are browning unevenly, until the surface is a deep golden and an instant-read thermometer inserted into the center reads 205-210˚ F, about 5 minutes longer. Transfer to a wire rack and cool 30 minutes before slicing. ENjoy!

One Comment Add yours