
Even though maraschino cherries definitely have a strange color, I (Leah) really enjoy them on ice cream sundaes and in Shirley Temples. Since I love these cherries so much, I was immediately drawn to this cake recipe when I saw it months ago.
Celine and I hadn’t made it until now, though, because some people really hate maraschino cherries and we typically stick to more traditional cake flavors. Finally, for Mother’s Day, our mom chose this cake. It was a really fun cake to make- the batter turned a nice shade of pink and the old-fashioned meringue frosting was a nice change of pace. We almost had a casualty while making the frosting though- our instant read thermometer fell in the bowl as we were beating it. It got knocked open, but luckily only a tiny bit of the frosting got inside and we were able to salvage it. Thank goodness, because we’ve gone through way too many instant read thermometers!
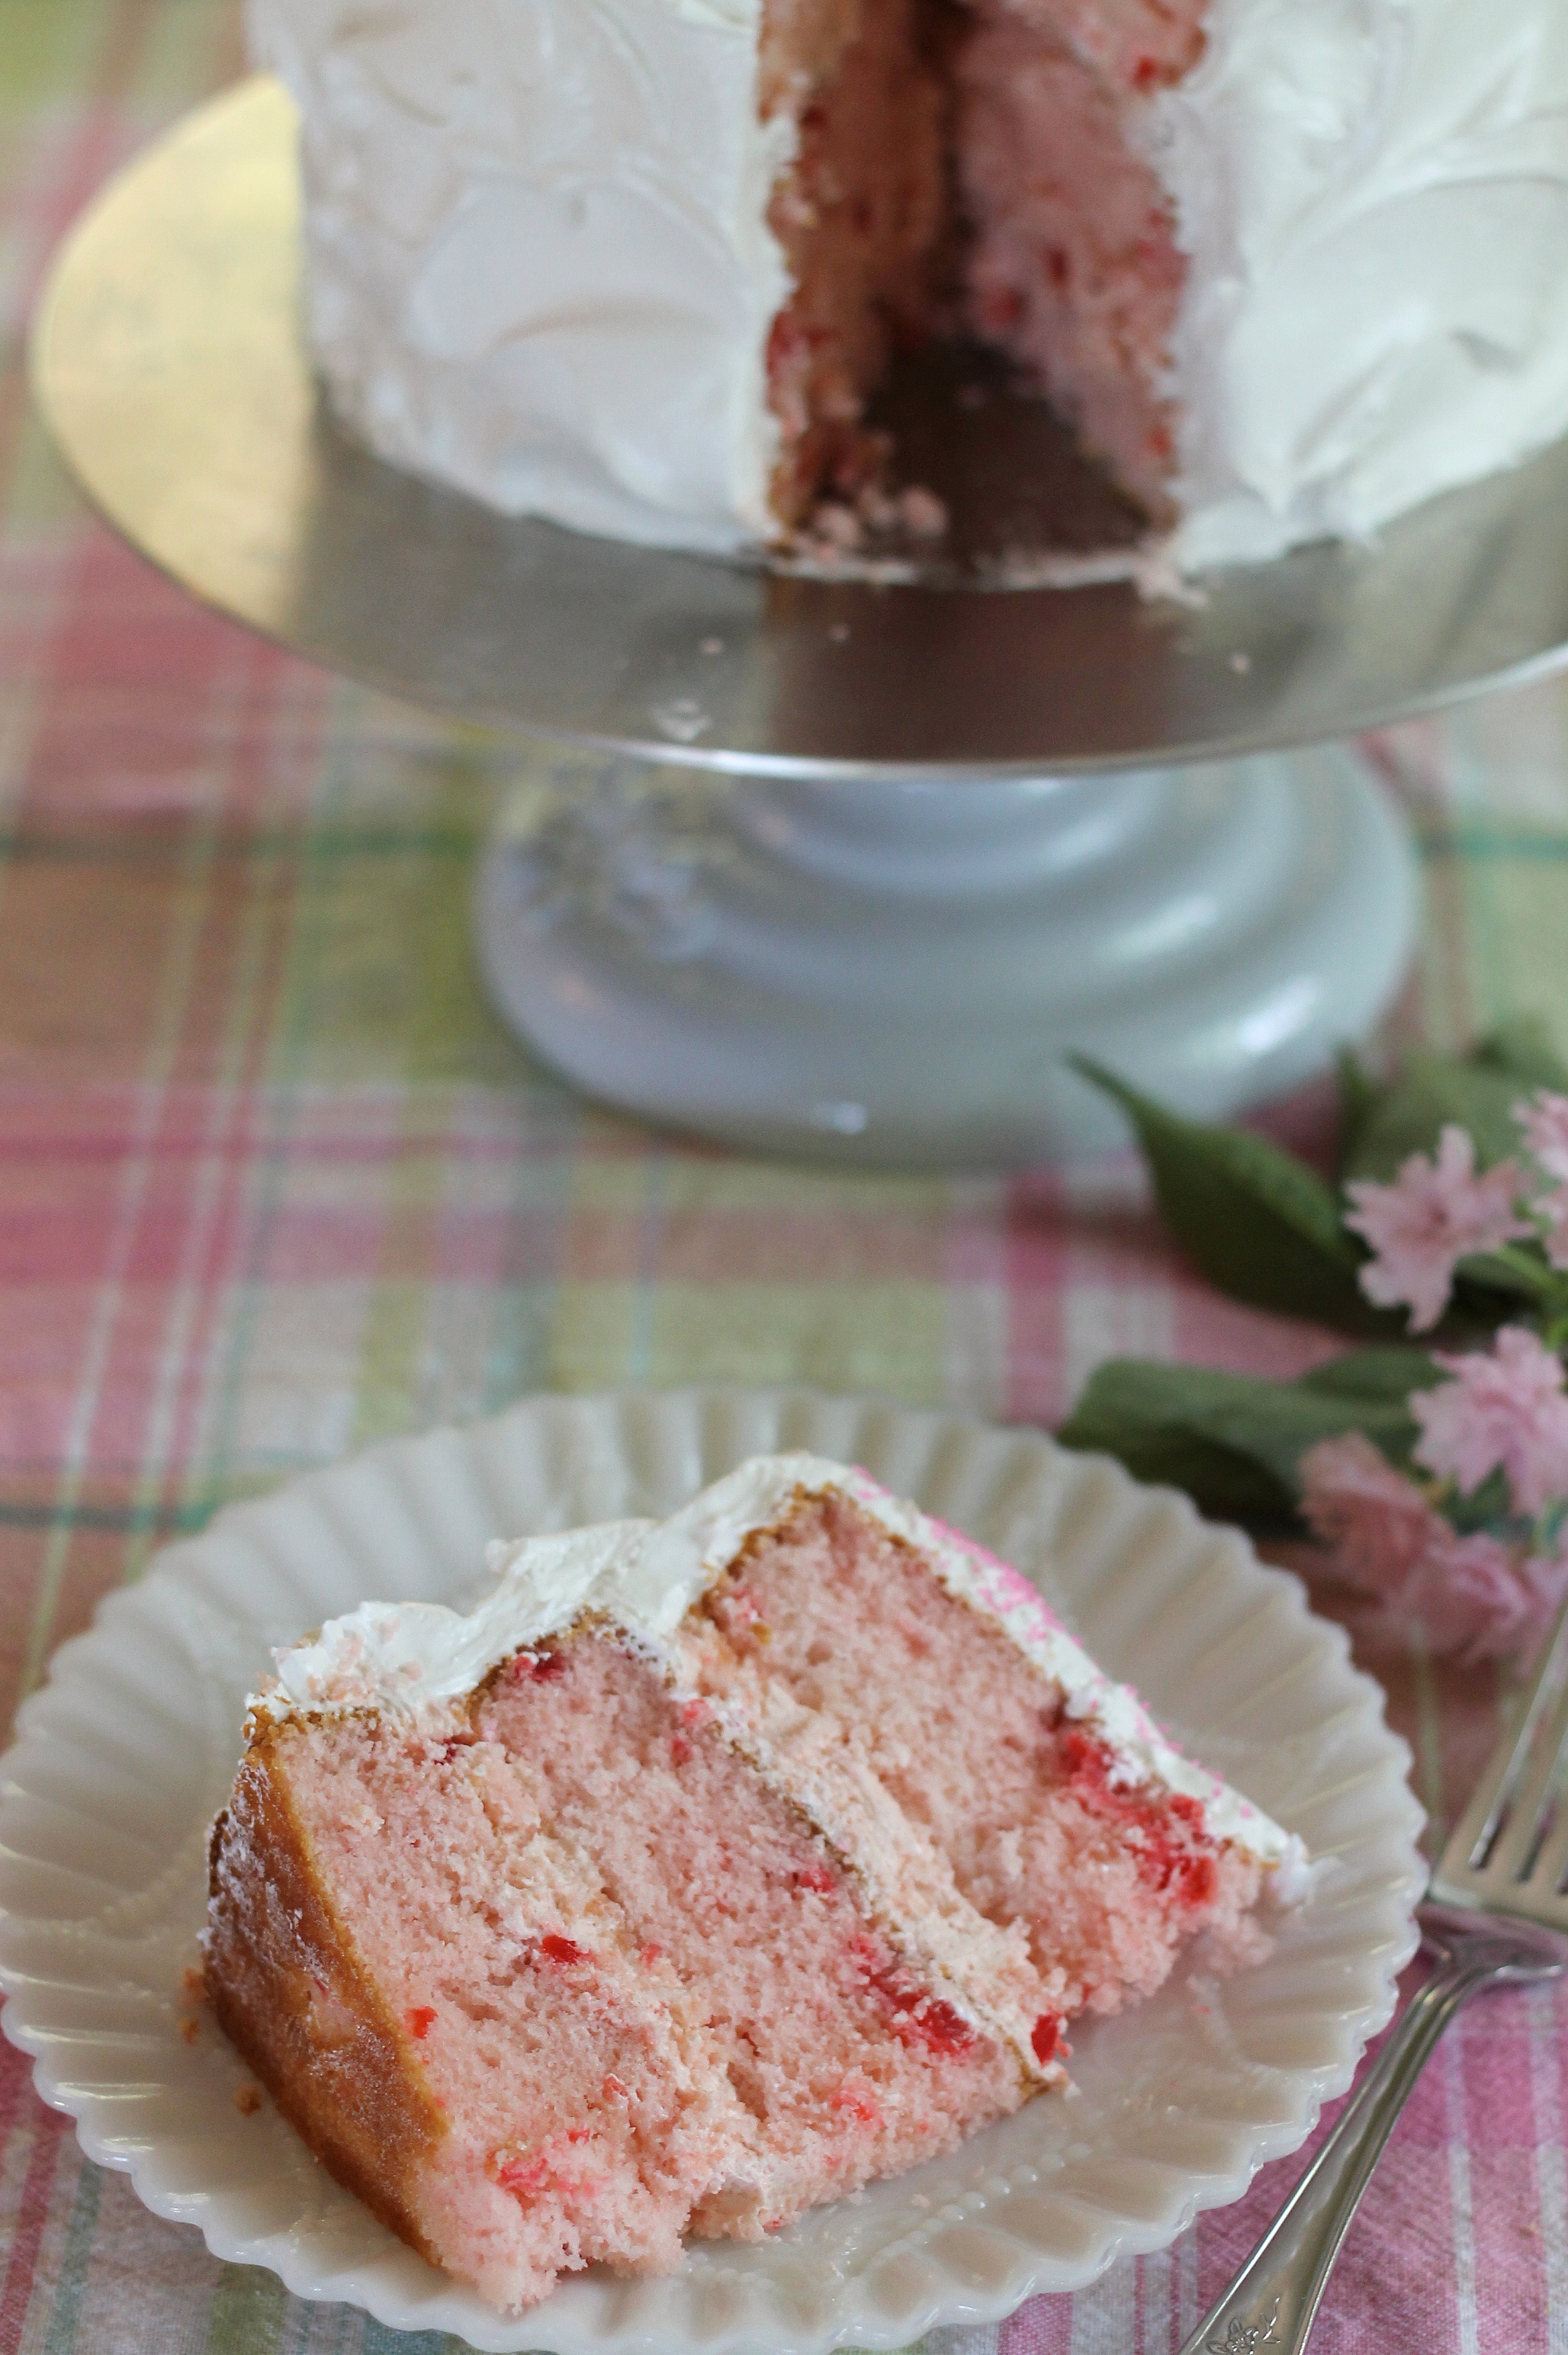
Anyway, this cake was a complete success. It has just enough cherry flavor, and the tiny amount of almond extract works really well. We also liked how there was a different filling and frosting. The meringue frosting was less sugary than the buttercream, so it prevented the cake from being too sweet and heavy (an issue I often have with cakes). It is simple to decorate since the meringue frosting is easy to swirl; even if your cake decorating skills aren’t so great, you should have good luck with this cake!
Cherry Chip Cake
Recipe from Sweetapolita
Serves 12-14 (makes a 3-layer, 8-inch cake)
Ingredients:
Directions:
For the cake:
Preheat the oven to 350°F. Grease, line with parchment and flour three round 8-inch pans. Place the pans on baking sheets (this will help prevent a firm bottom crust on the cake).
Whisk the flour, baking powder and salt together in a medium bowl. Whisk together the milk, egg whites, cherry juice, and almond extract in a large glass measuring cup.
In the bowl of a stand mixer fitted with the paddle attachment, cream the butter and sugar on medium speed until very pale and creamy, about 5 minutes.
With the mixer still on medium speed, alternate additions of the flour mixture (3 additions) and milk mixture (2 additions), beginning and ending with the flour mixture, beating after each addition until incorporated. Continue mixing on medium speed for 2 minutes. Stir in the finely chopped cherries.
Divide the batter evenly among the cake pans, smoothing the surface with a spatula. Bake them until a skewer comes out with only a few crumbs attached to it, about 30 minutes. They will be light golden brown.
Transfer the cakes to cooling racks and let them cool for 5 minutes. Loosen the edges by running a knife around the sides. Carefully turn out the cakes onto the cooling racks and peel off the parchment paper. Turn the cakes so they cool right-side up. Let cool completely.
For the whipped cherry filling:
In the bowl of a stand mixer fitted with the paddle attachment, beat the butter for 5 minutes on medium speed; the butter will become creamy and pale.
Add the remaining ingredients (except the cherries) and mix on low speed for 1 minute, then on medium speed for another 6 minutes. The filling will be light and fluffy. Stir in the chopped cherries.
For the old-fashioned frosting:
Place all ingredients except the vanilla into a large heatproof bowl that fits snugly atop a medium saucepan of simmering water on the stove (about an inch of water; the bottom of the bowl should not touch the water). Beat the ingredients with a hand mixer until thick and glossy, about 5-7 minutes. It is not necessary, but if you like, check to make sure that the frosting has reached 160°F before removing it from the stove.
Remove the bowl from the saucepan and place it on the counter. Wipe the bottom of the bowl dry with a cloth. Continue to beat the frosting until it is cool and add the vanilla extract.
To assemble:
Work somewhat quickly, as the old-fashioned frosting begins to set. Level the cakes with a sharp knife if necessary. Place one of the cake layers on a cake stand and top with half of the cherry filling. Spread it to the edges. Repeat with the second layer. Place the final layer face-down on top. Cover the cake with the old-fashioned frosting, smoothing it into a swirly pattern. Serve the cake and enjoy!
