Say hello to our biggest baking project so far! Our dad referred to it as our magnum opus. About a month ago, some family friends approached us to see if we’d be interested in making their wedding cake. We jumped at the opportunity- even though we probably should’ve considered the amount of work involved first! While we don’t have a ton of along-the-way photos, we thought we’d outline the process a bit for anyone who is interested! Warning- this is a long post!
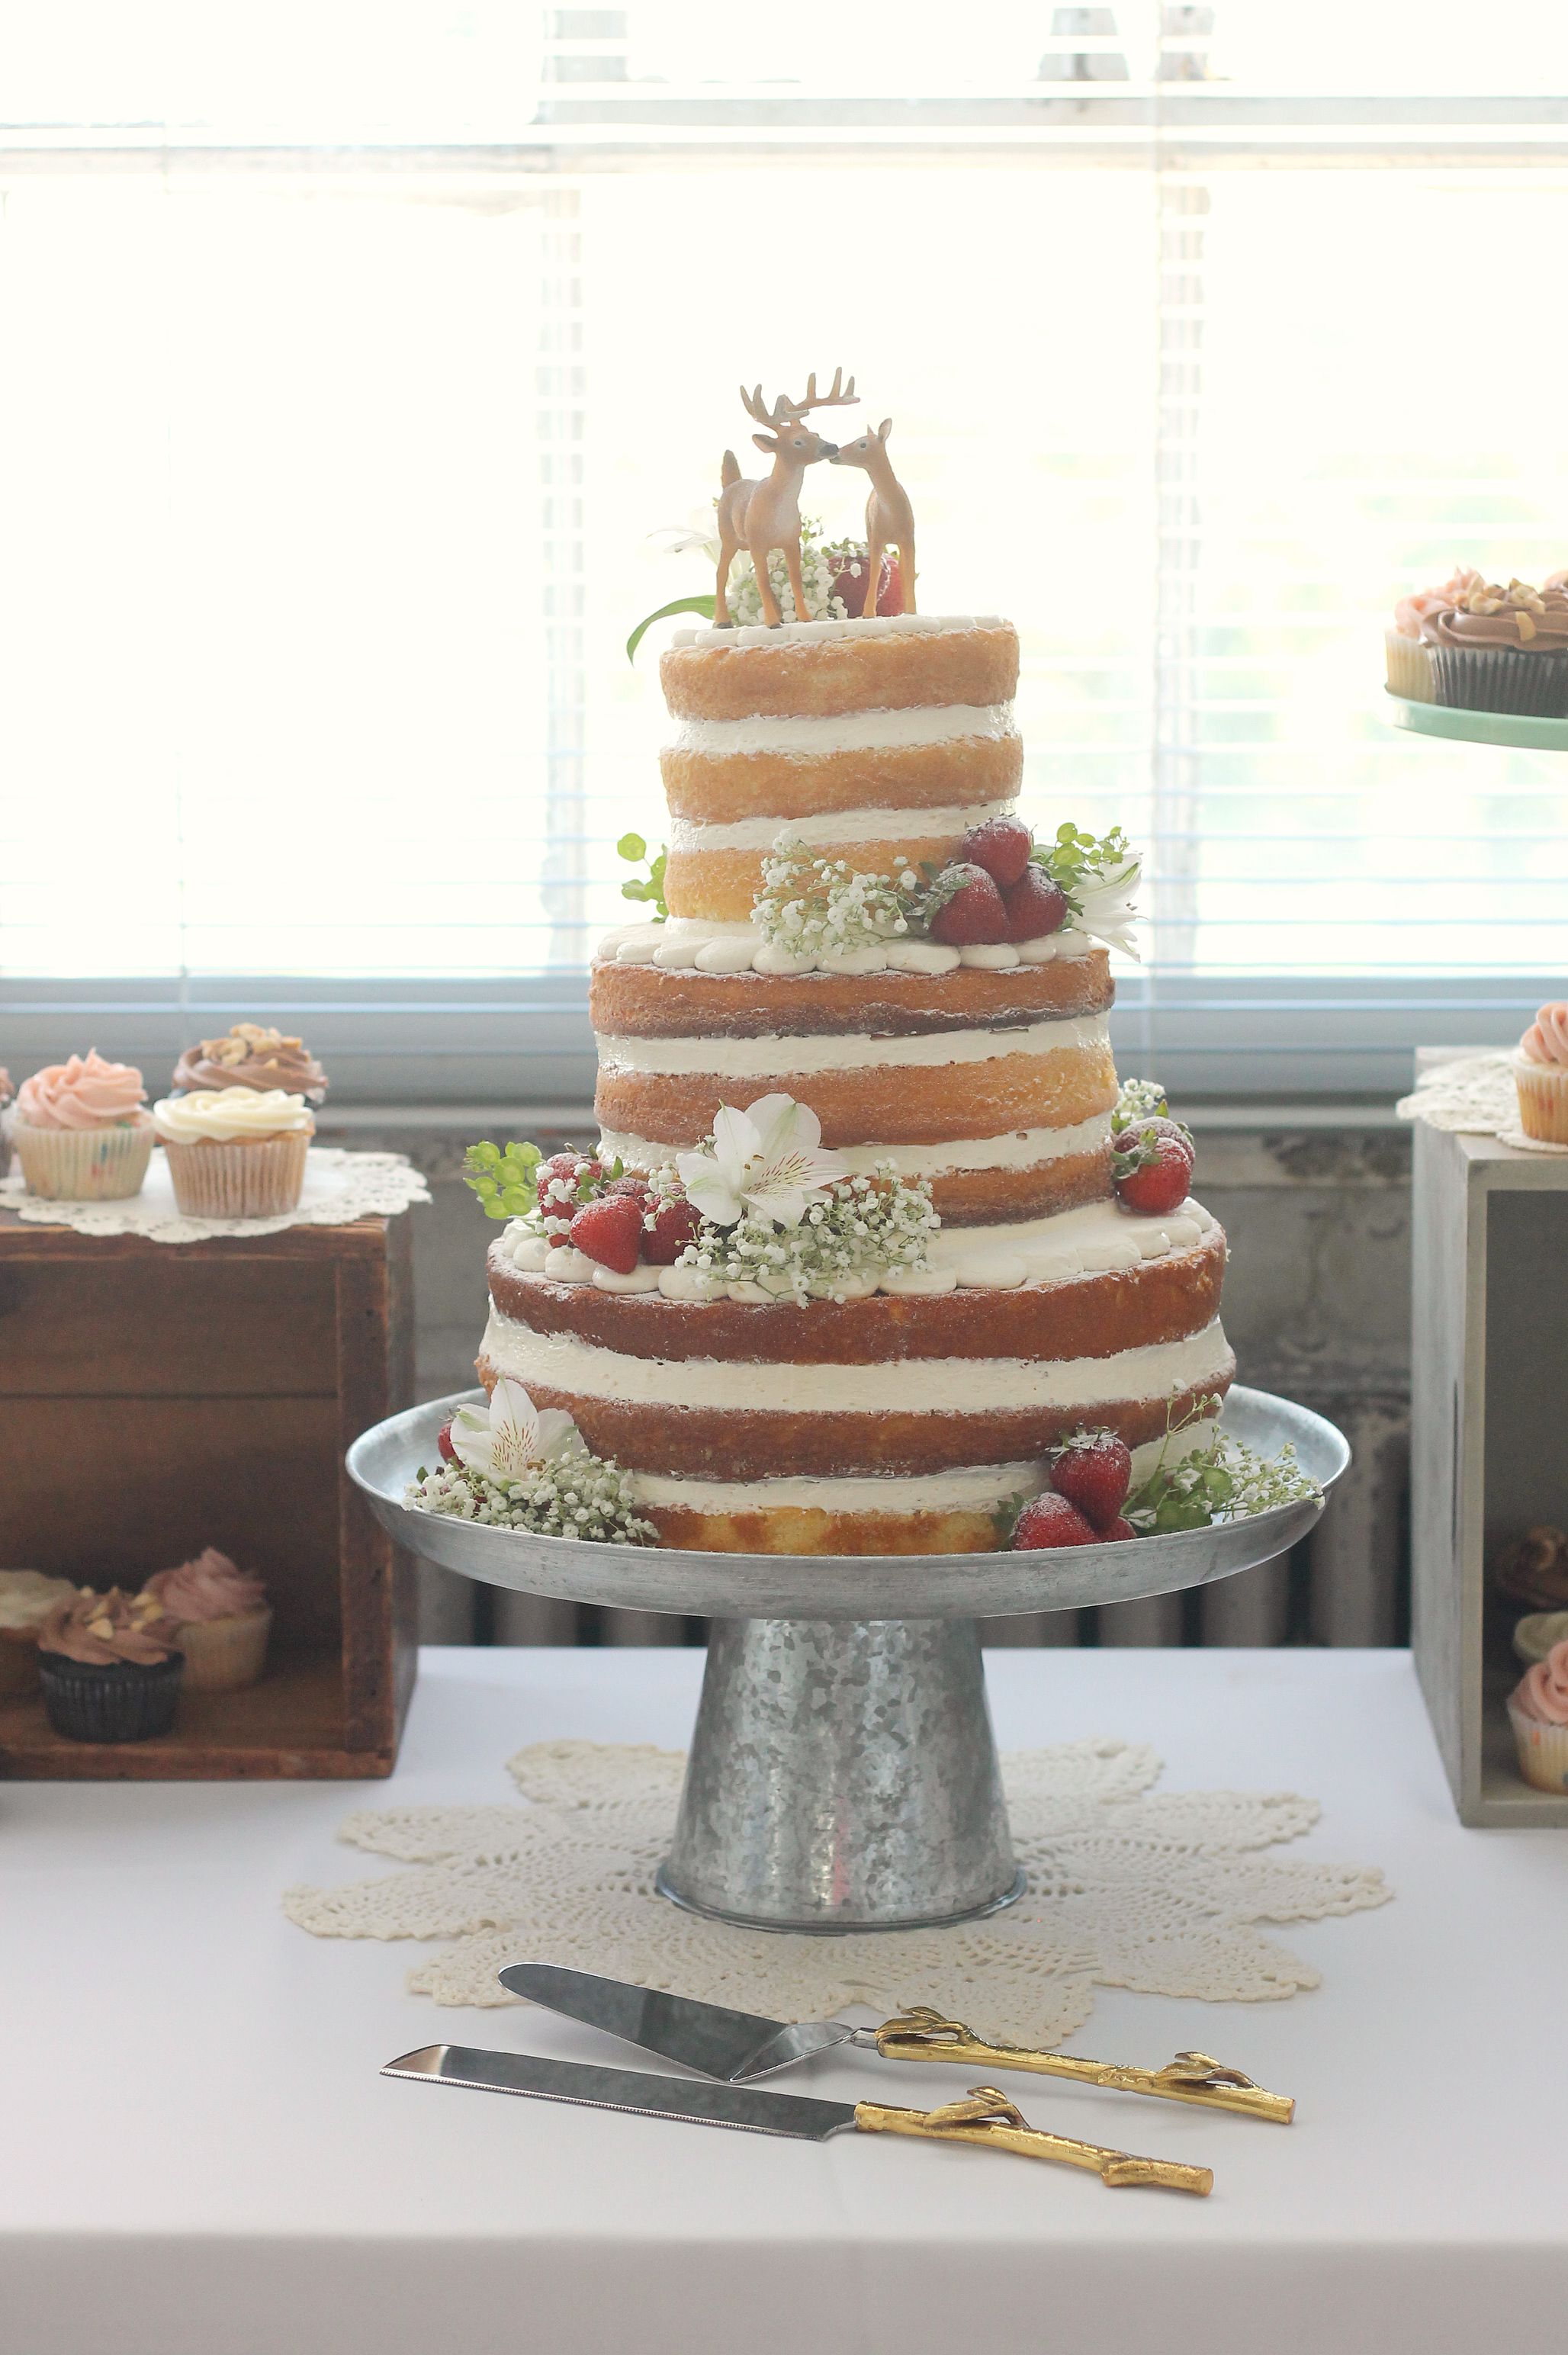
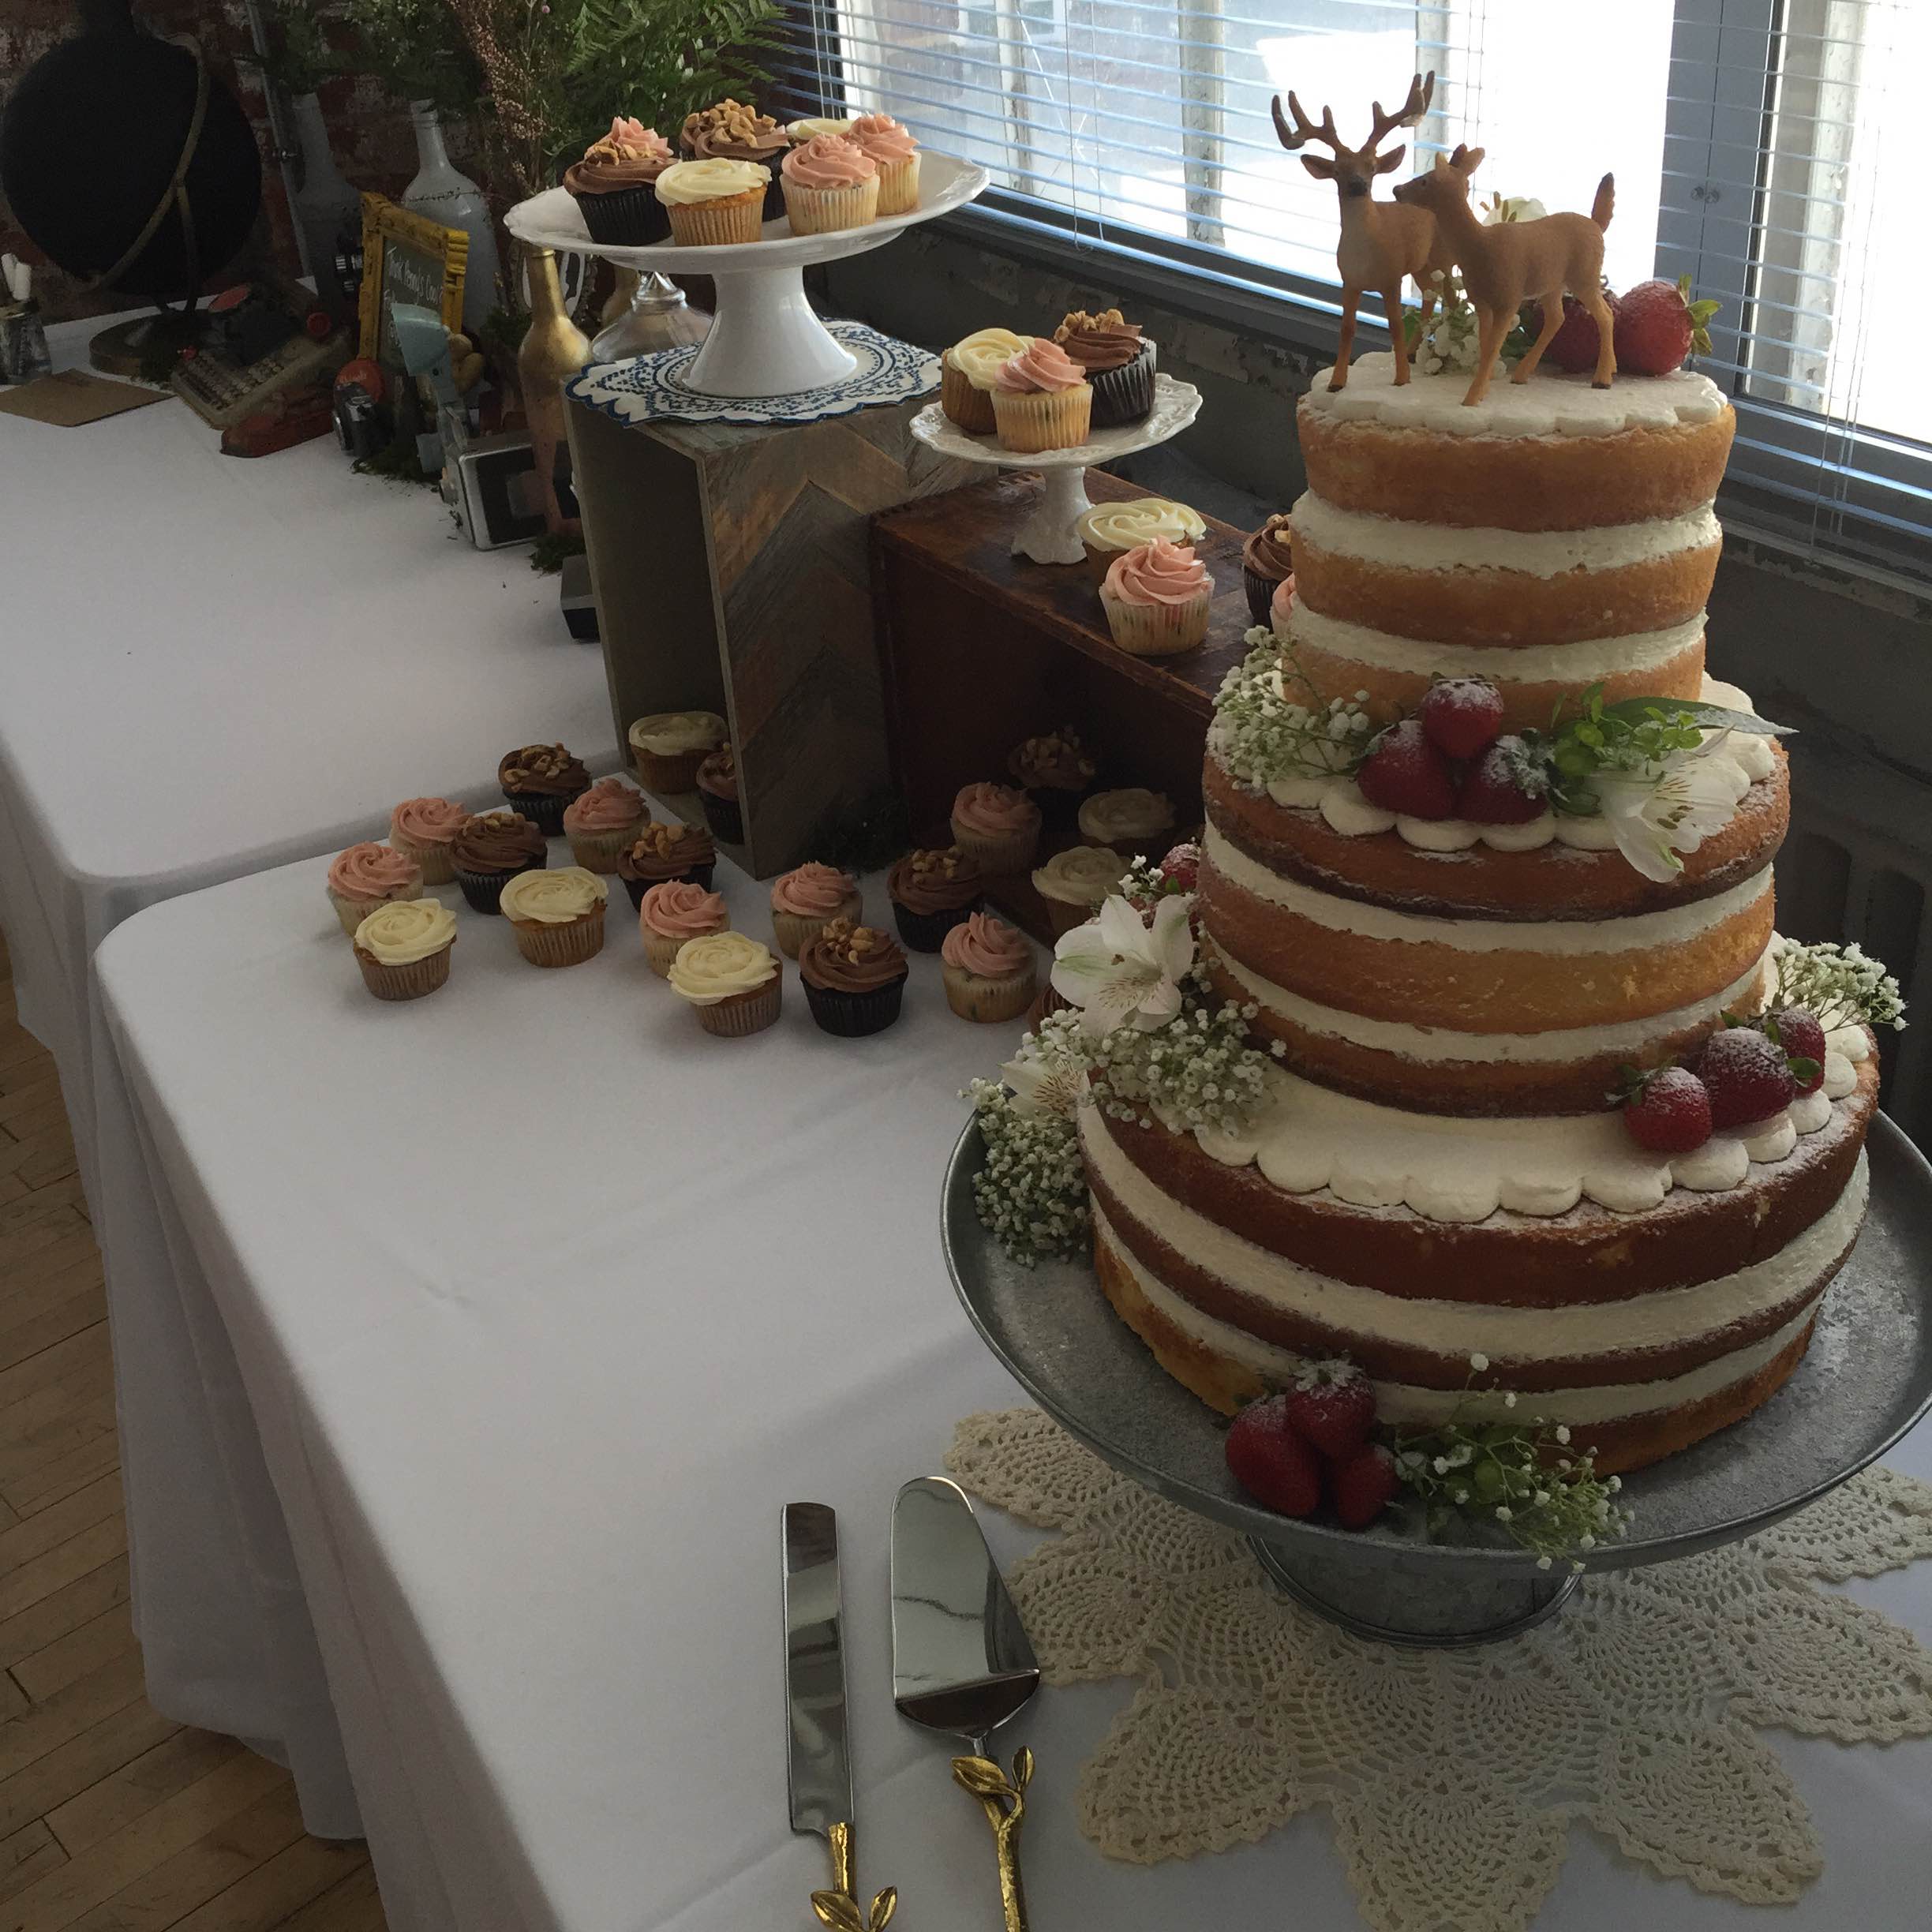
Here are a few details to set the stage: the cake was to serve about 150 people, the venue was a little over an hour from our house, and the bride and groom wanted a more rustic-looking naked cake (a style we hadn’t tried before). Definitely a daunting task, but we have baked a lot of layer cakes and have plenty of cookbooks and bookmarked blog posts that outline the process, so we knew we were up to the challenge. Design-wise, we ended up doing a 3-tiered cake: 6″, 9″, and 12″ tiers, 3 layers each. This was a pretty good size, and according to a couple of sources we used in our research, a cake that size feeds about 65-75 people. Since the wedding had 150 guests, we ended up doing around 100 cupcakes as well. The cupcakes were awesome for a few reasons: they looked really nice arranged around the cake, they allowed us to make a variety of flavors, and it was much easier than trying to make a super-huge cake.
Making a tiered cake wasn’t MUCH harder than making a normal layer cake. We used dowel rods that were trimmed to the height of each tier as a support structure and had cardboard cake boards between each tier as well. We used the Sweetapolita Bakebook and Smitten Kitchen as some great sources on assembling wedding cakes (this page on America’s Test Kitchen was helpful as well). We also watched lots and lots of YouTube videos on making a naked wedding cake. For details on making the cake design as well, this post from the 100 Layer Cake blog was AWESOME! We used their frosting design for the top of each tier, and it was beautiful. One thing we would do differently in the future is make sure the tiers themselves were a little more level, as the cake itself tilted just a bit.
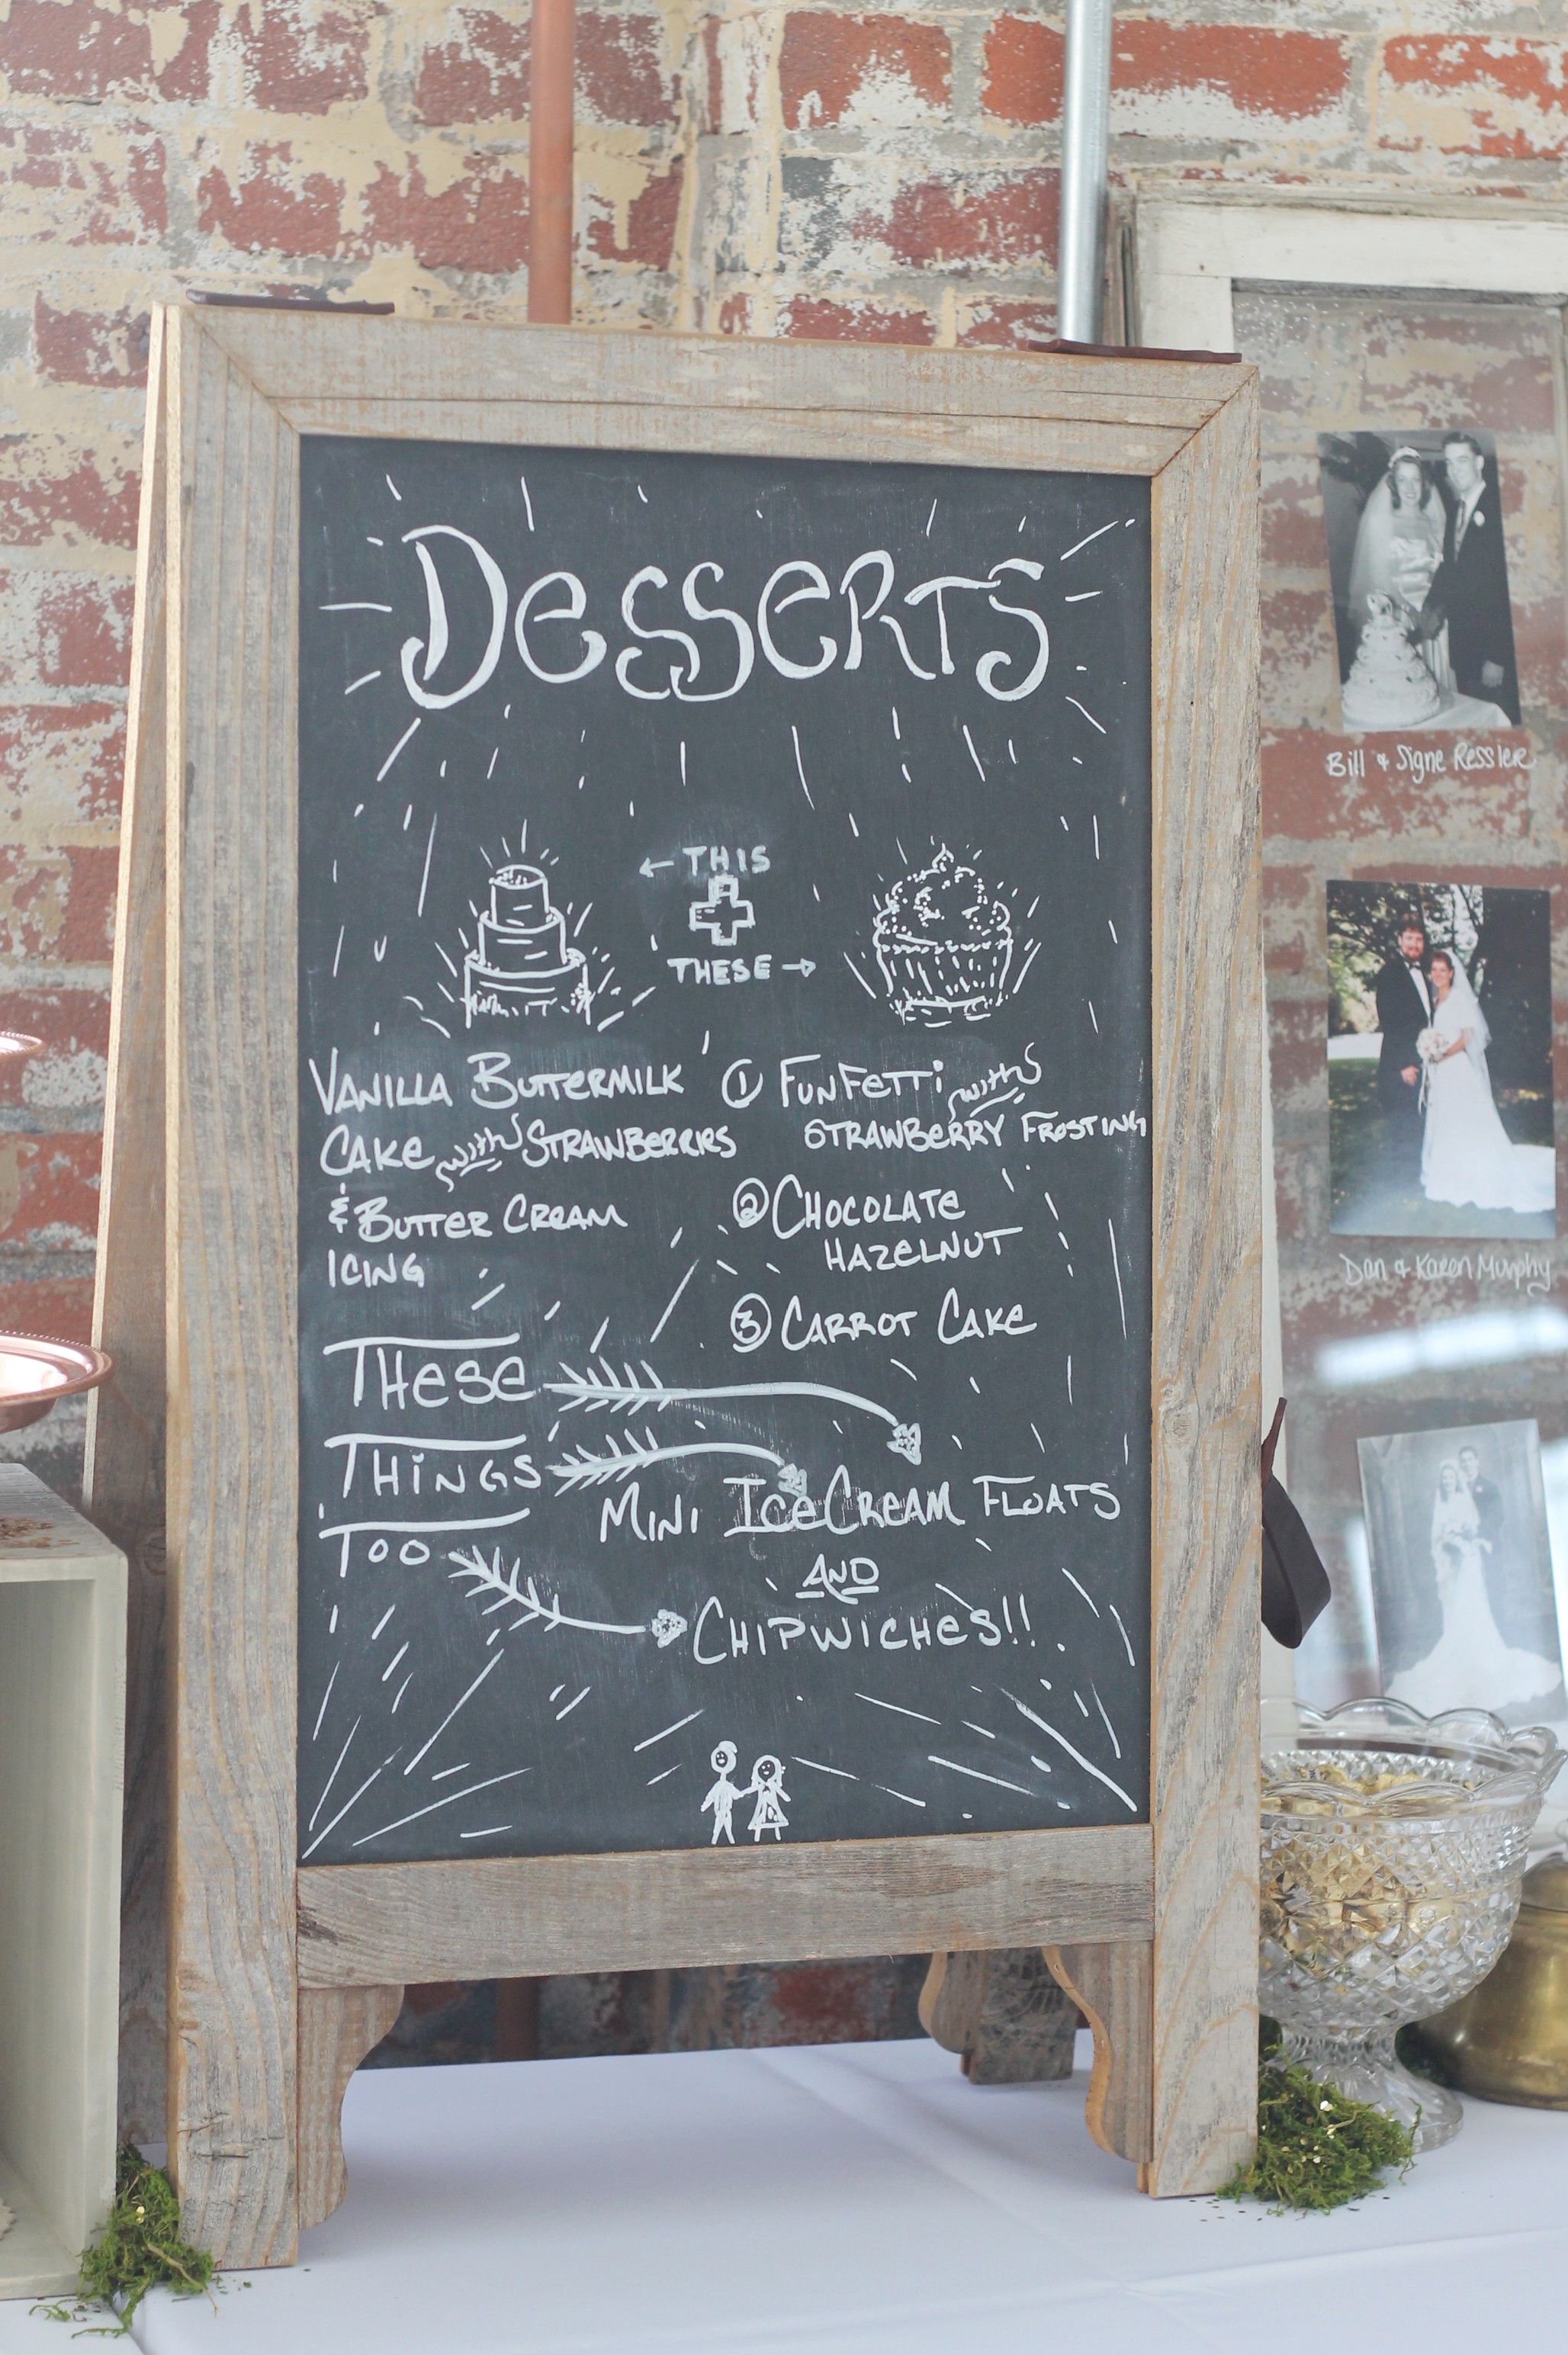
The cake itself was this absolutely amazing vanilla buttermilk cake from Smitten Kitchen, originally from Sky High: Irresistible Triple-Layer Cakes. This will definitely become our go-to vanilla cake from now on (bonus: we now have it memorized!). One batch of the cake batter as posted on Smitten Kitchen made either 3 9-inch layers or 1 12-inch layer and 1 6-inch layer. So, for our cake, four batches of batter made all of the layers. The frosting on the cake was luscious vanilla Swiss meringue buttercream from Annie’s Eats, originally from Martha Stewart. To fill between the layers of the cake, we needed three batches of the buttercream. Between the cake layers as well was strawberry jam and freshly sliced strawberries. It was a delicious combination!
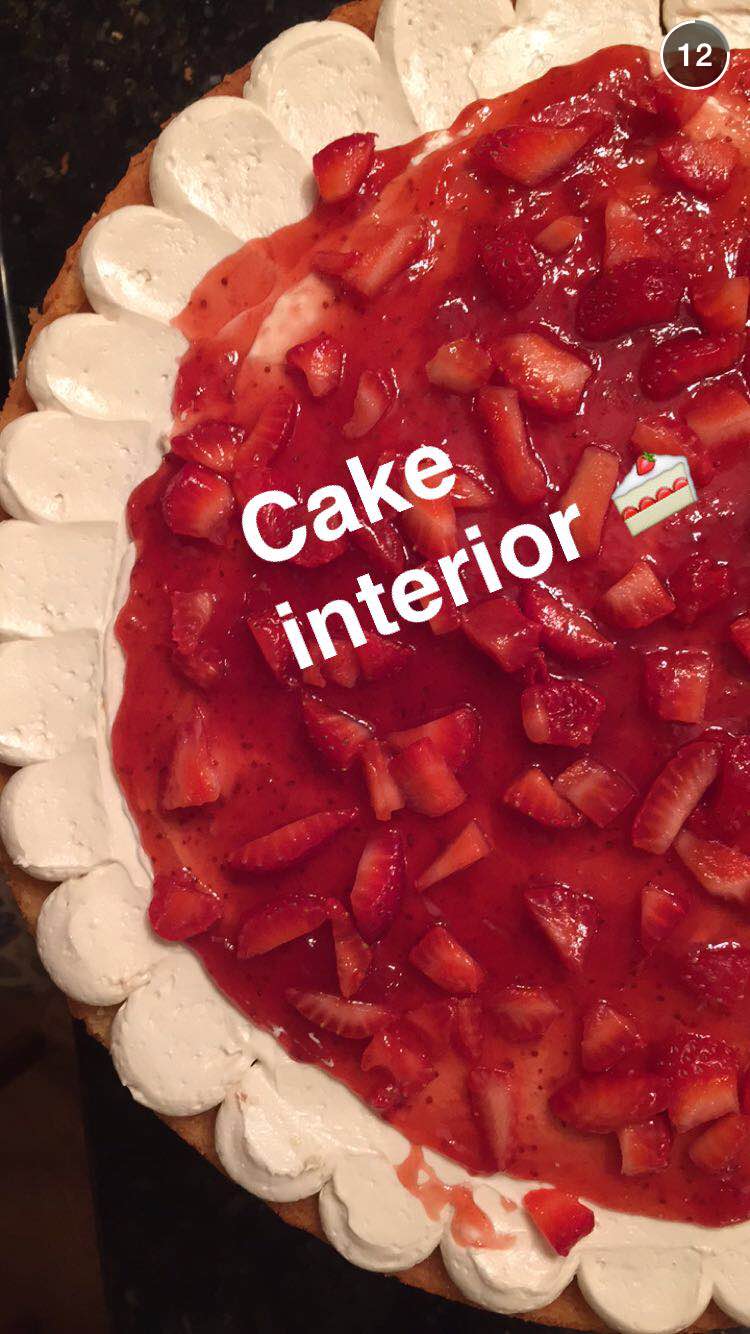
(Please ignore the fact that this picture is from Snapchat- it’s the only picture we took of the inside!)
Making a naked cake had some different challenges than a classic cake. For a start, we had to make sure as little cake stuck in the pan as possible. While ours still weren’t perfect, we found that plain old butter and flour and a parchment circle worked best! Keeping the cakes as evenly brown and level as possible is optimal as well. One big plus to the design is that you have to make a LOT less frosting, and when you’re transporting the cakes, you don’t have to worry about the sides getting a little bit bumped.
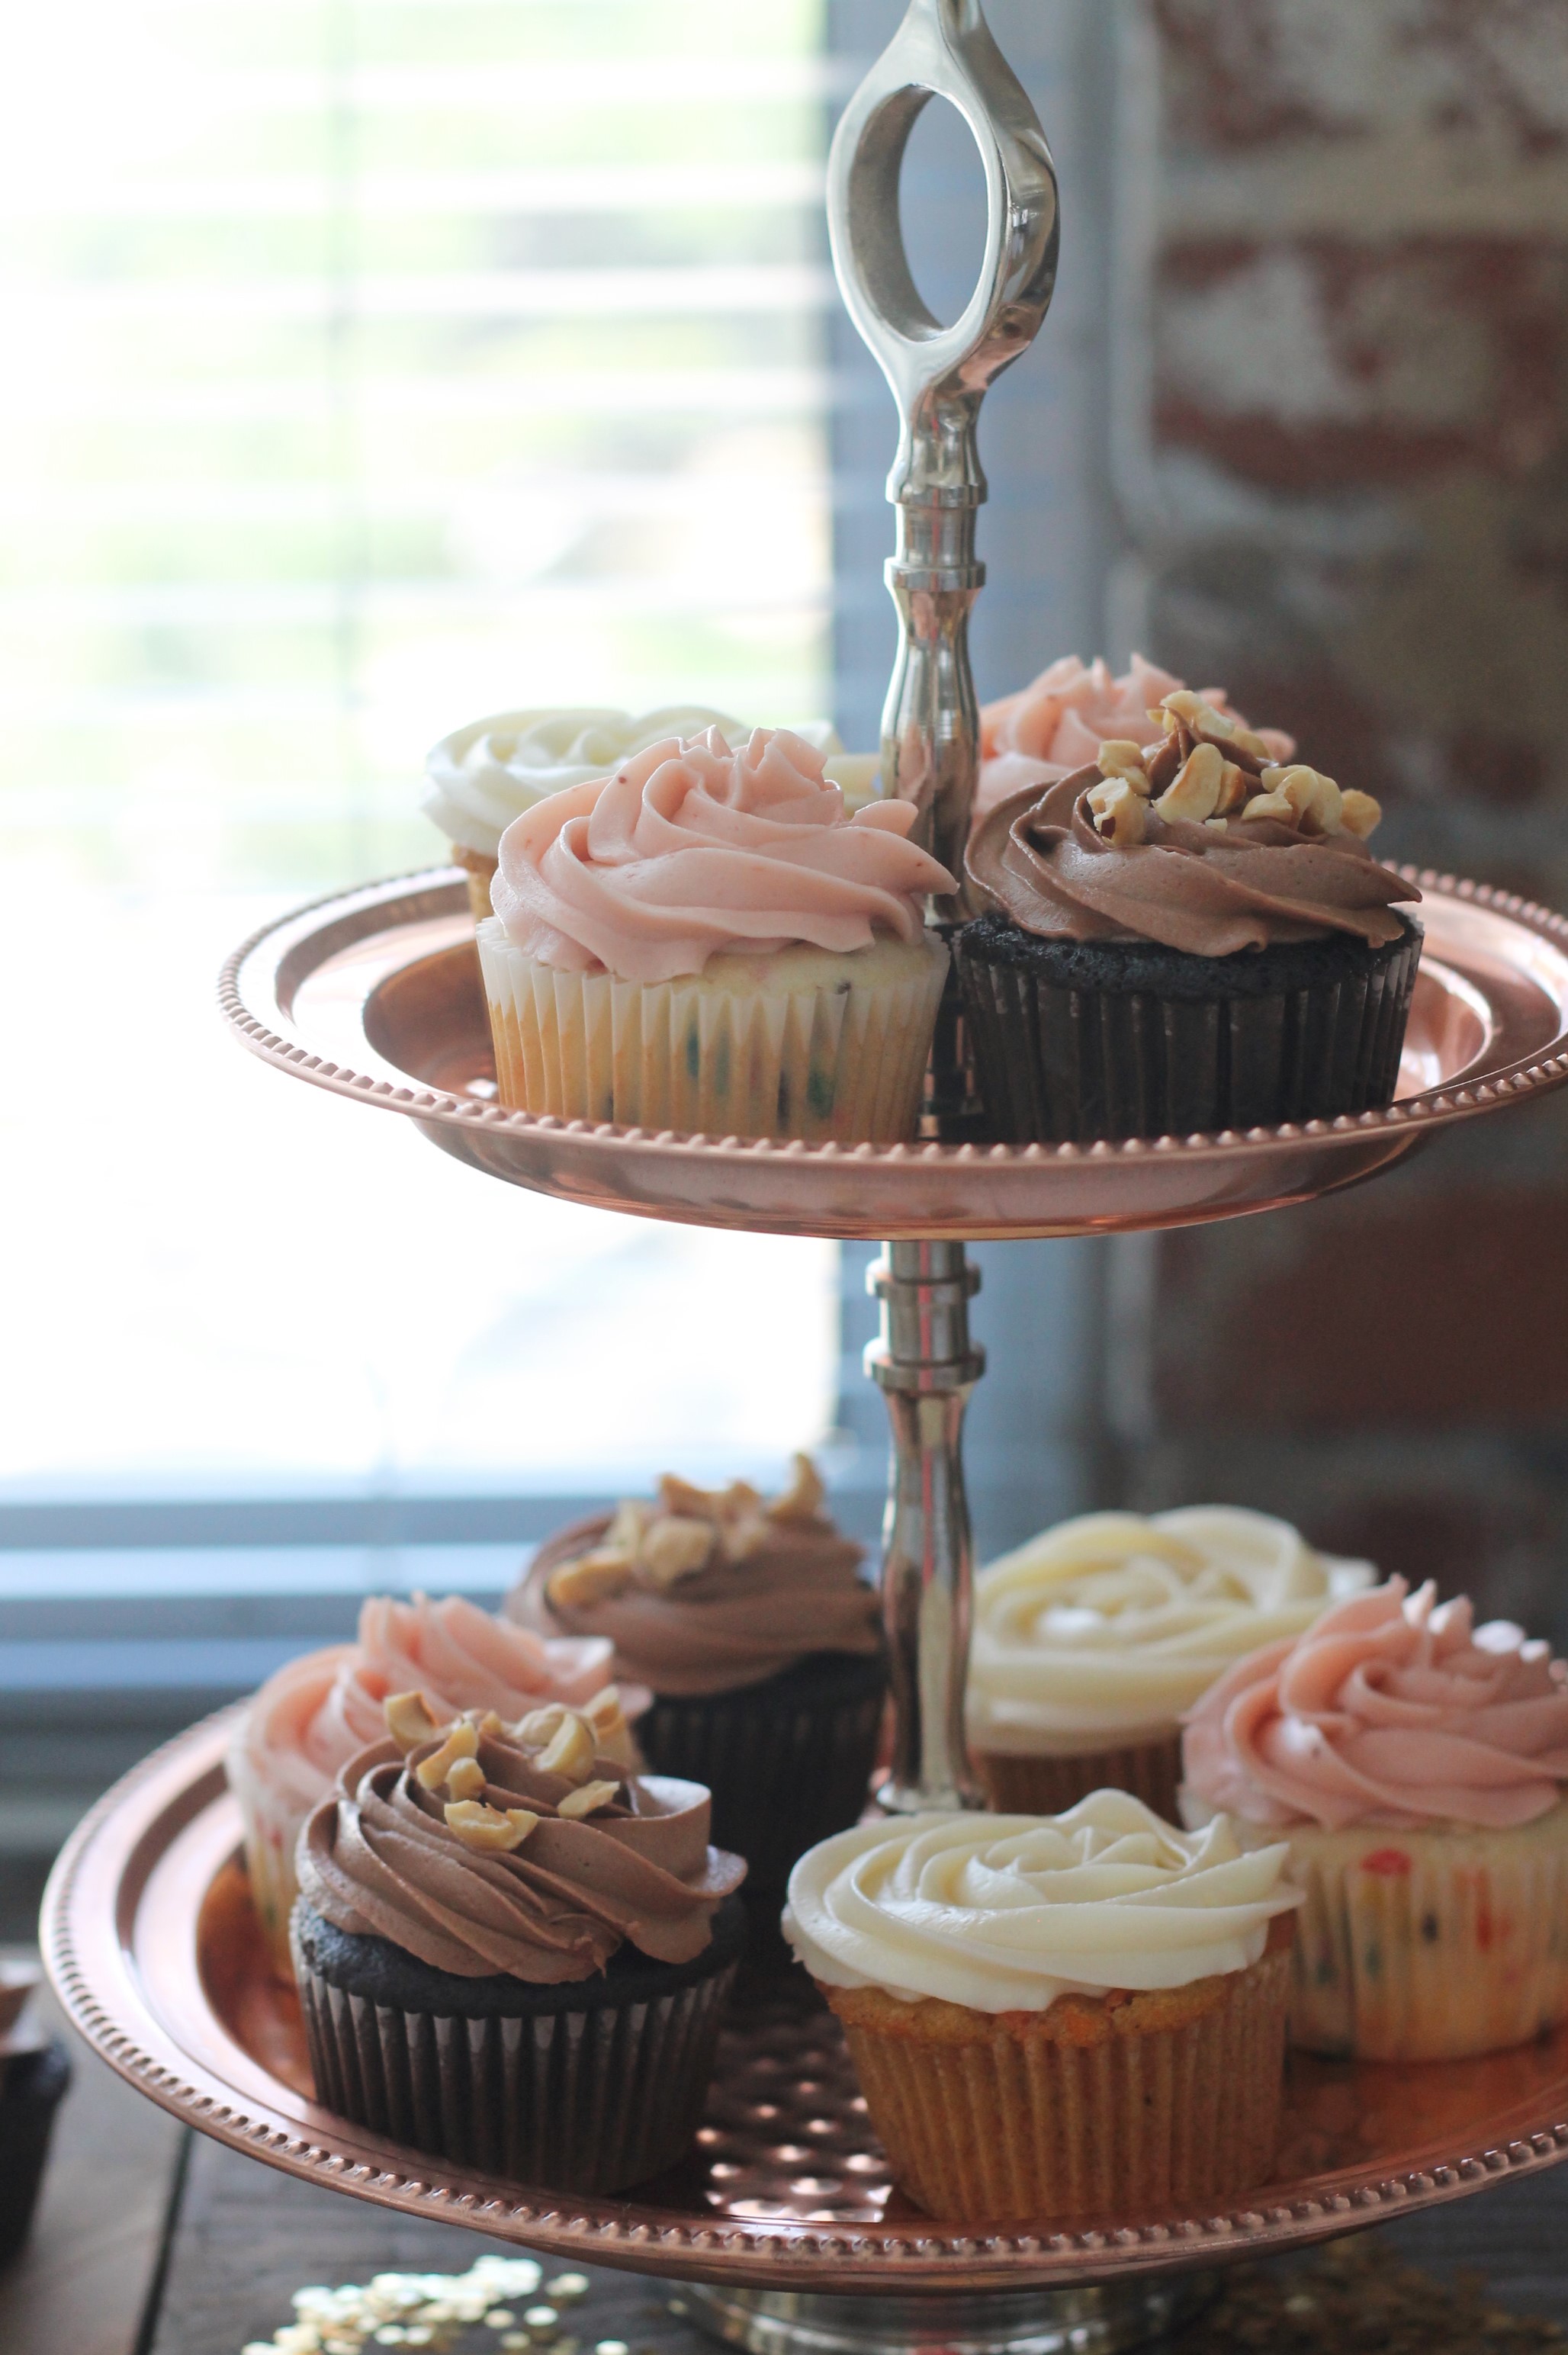
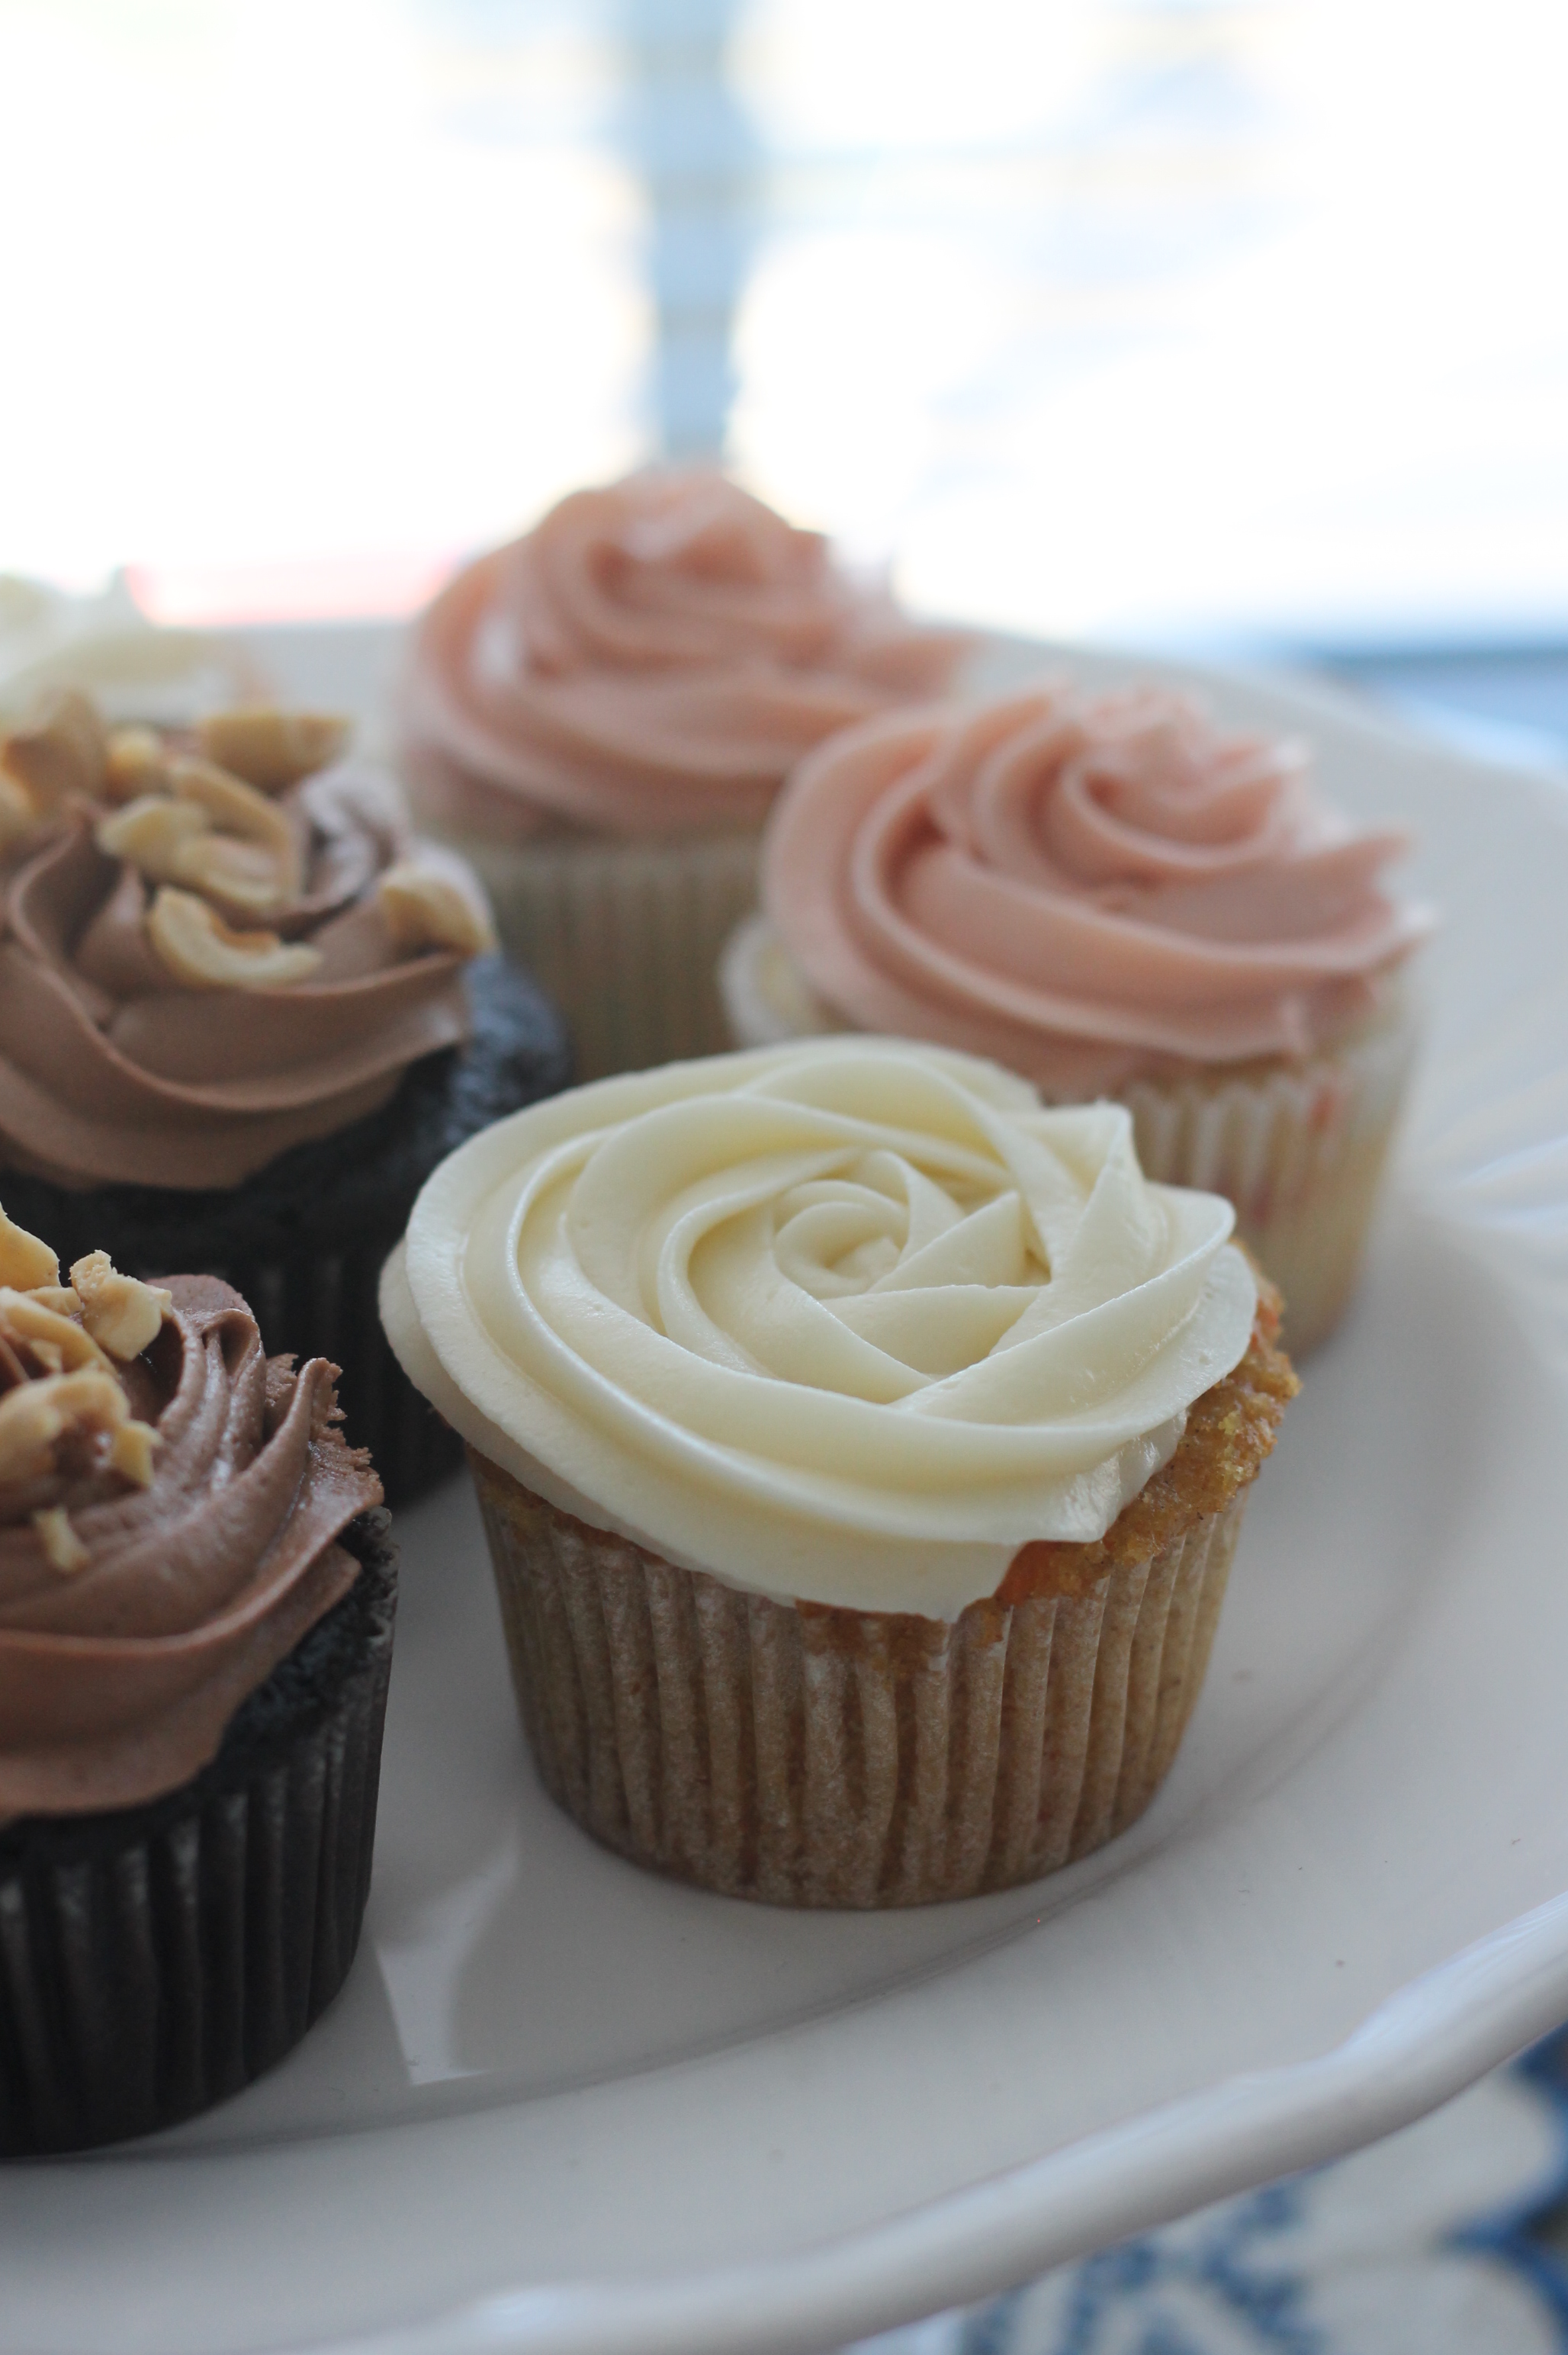
We ended up making three kinds of cupcakes, about 35 of each. The first flavor was chocolate cupcakes with nutella buttercream and chopped roasted hazelnuts. SO good and probably our favorite of the three.
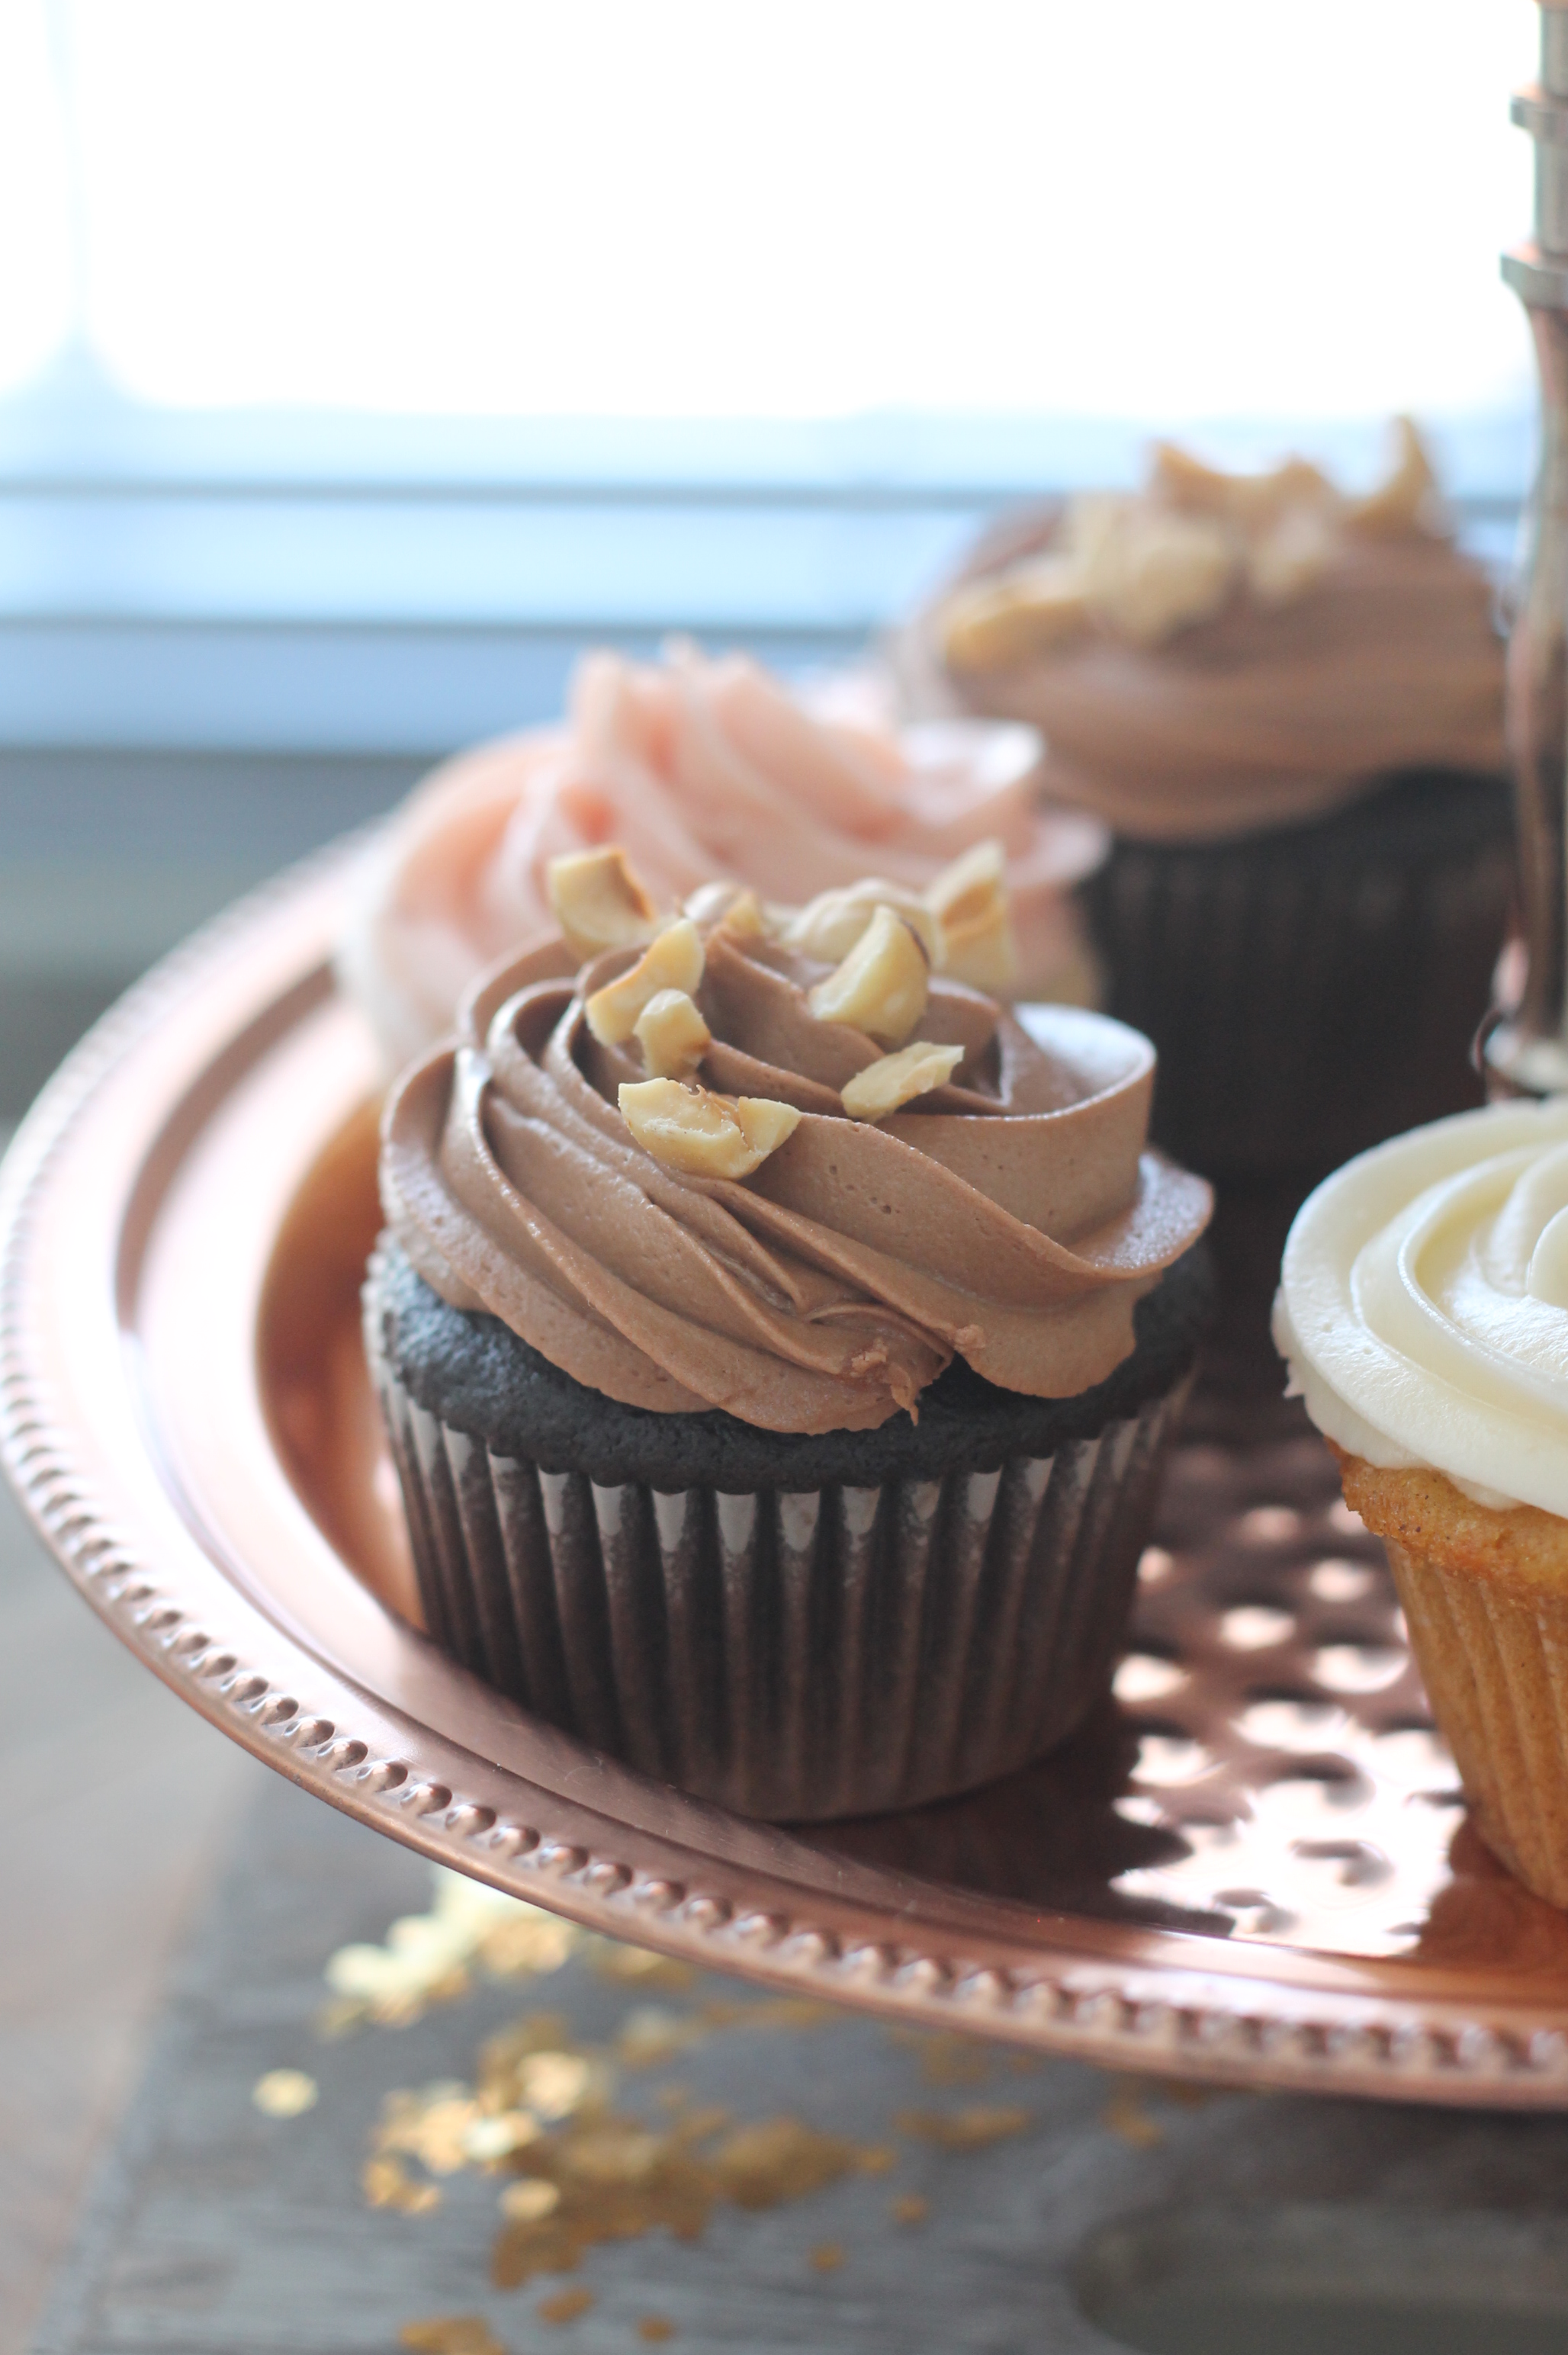
Next up was funfetti cupcakes with strawberry icing. For the frosting on those, we beat some of the strawberry jam and a few drops of food coloring into vanilla buttercream, but we prefer this strawberry icing and would recommend that instead (even though the strawberry frosting we made was still pretty good!).

Our final flavor was carrot cupcakes from Martha Stewart’s Cupcakes with cream cheese frosting (the cream cheese frosting is the bomb!). When using that carrot cupcake recipe, be extra careful not to overfill or the batter tends to spread and get stuck to the pan. Some carrot cakes include pineapple and/or raisins and nuts, but this particular recipe is classic and simple (not to mention moist and delicious!), which is great for a wedding.
All of the cupcakes were super delicious! One other thing to note about the cupcakes- we made them all a couple of days in advance and froze them, just so we wouldn’t be going completely crazy the night before! We wrapped 12 cupcakes at a time in plastic wrap, then a layer of foil, and then put them in a plastic freezer bag. When thawing them, we removed them from the packaging to prevent condensation. This method worked really well, and the cupcakes were just as tasty coming out of the freezer as going in!
As far as packaging and assembly, we frosted all the cupcakes and put them into boxes the night before (minus the carrot ones- since they had cream cheese frosting, we did them the morning of the wedding). We kept the cake tiers separated until we arrived at the venue. We filled and frosted them the night before and kept them in the fridge overnight to keep them fresh and well-chilled. We brought extra frosting, an offset spatula, piping bags and tips, flowers, more strawberries for decorating, scissors, non-melting powdered sugar and a sifter (the couple wanted the cake dusted with powdered sugar, and this kind doesn’t melt into the cake after a few hours-really important since we were setting up the cake several hours in advance), spatulas to help move the cake layers, a serrated knife and cutting board, and paper towels with us. We wanted to be well-prepared, and I definitely think we were (we didn’t end up even using a lot of it!!). Once we arrived (in a very well- air conditioned car), we stacked the tiers, filled the small cracks between each tier with extra frosting, and then arranged fresh flowers and strawberries on the cake (as well as putting the couple’s adorable deer toppers on the 6″ tier).

We arranged the cupcakes around the cake and finally were done! What a cool experience. A lot of work and cake batter, but awesome nonetheless. Would we do it again? Yes! Definitely not anytime soon, but having the honor of baking a cake for someone’s wedding is a really amazing. Plus, our parents were at the wedding, and they heard nothing but good things about the cake. Most importantly- the bride and groom were happy with the results!

Our mom snapped this pic at the reception- the lighting became so pretty as the sun set!

Congratulations, all looks lovely and delicious!
Sent from my iPhone
>
Thank you so much!
Wow! That was a big project to take on. Everything looked beautiful.
Thank you so much Wendy!